

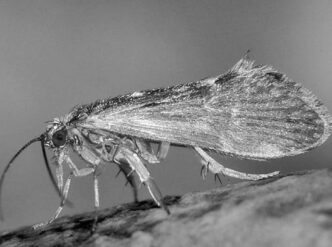
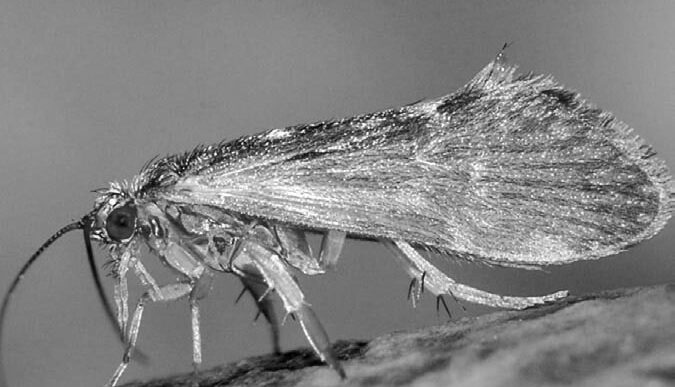
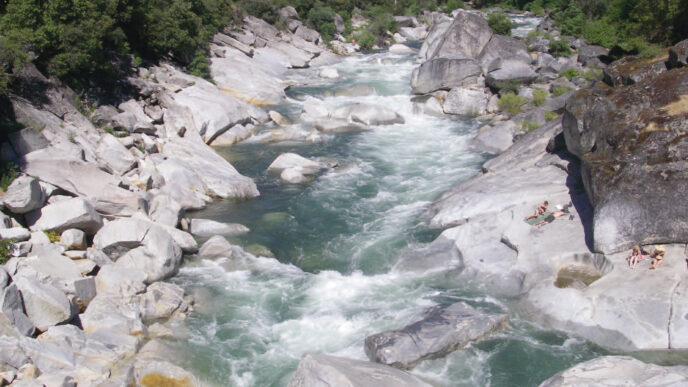
An angler who can properly fish a nymph in California’s freestone rivers can catch trout at an amazing rate. Unlike slow-flowing spring creeks and broad tailwaters, freestone streams have a high gradient and are broken up by boulders, bedrock, woody debris, and vegetation into countless small pools where fish can hold and feed. This water type is generally called “pocket water” and is the predominant water type found on the Pit River, upper Sacramento, McCloud, and west-slope Sierra streams. To be successful in this water type, an angler must fish a short line and get close to the fish. One of the best ways to catch these pocket-water trout is with nymphs.
While the technique is somewhat standardized, its names are many. I’ve heard the technique referred to as “highstick nymphing,” “tight-line nymphing,” “indicatorless nymphing,” and “pocketwater nymphing.” I’ve no doubt missed a few others. For now, let’s just call it “shortline nymphing,” since we’re trying to catch a trout that is less than two rod lengths away from where we’re standing. What I aim to accomplish with this article is to explain the short-line nymphing technique in its two main forms: with and without a strike indicator.
Keep in mind that there is no single right way to do anything when it comes to fishing. No matter how bad your rigging or presentation, if your fly is in the water, you can still catch fish. That said, I will present short-line nymphing technique in its simplest form. This is the technique that was taught to me by Tom April, Mike Peters, Art Teter, and Pat Jaeger when I attended the Guide School at Clearwater House (now Lodge) in 1997. After 13 seasons and countless guide trips, the technique I use and teach remains the same, and for good reason. It works!
Rigging Up
Rigging for short-line nymphing is very simple, and it’s the same with and without an indicator. Your leader, including the butt section at the end of your fly line, should be about as long as your fly rod. Start with a 6-foot leader tapered to 4X. Add 2 more feet of 4X tippet. Tie on a nymph at the end and put a BB split shot about six inches above it. If you want to get fancy, tie a knot right below the BB so it won’t slip. If you’re going to fish without an indicator, you’re done. Otherwise, attach an indicator somewhere above the knot connecting your leader to your tippet. I’ll say more about indicators later.
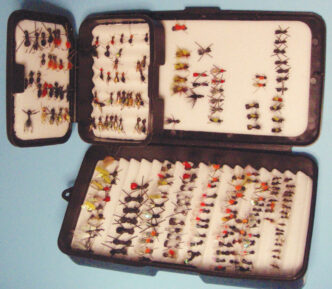
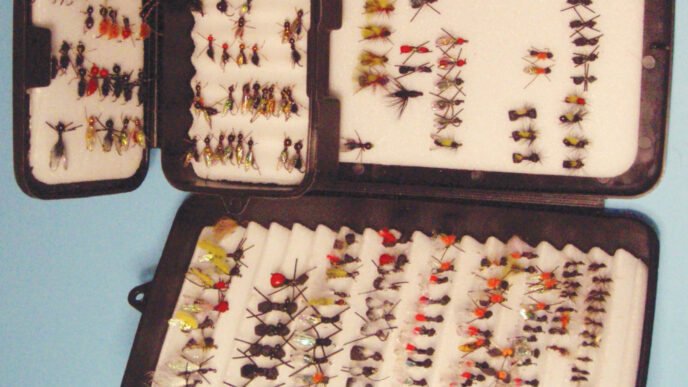
There are many embellishments you can make at the terminal end of this rig. You can add another piece of tippet to the bend of the hook of the first fly, then add a second fly as a dropper about 10 inches below the first. You could lengthen the distance between the flies and put the BB in the middle. Some people like to tie their dropper leaders to the eye of the hook, instead of the bend of the hook. You could also tie another dropper leader below the last fly and put your BB at the bottom. Some anglers like to tie all of the nymphs on dropper leaders. As my good friend and business partner Gino Bernero likes to say, the many ways to rig are just “style points.” All of them will work. Just remember that all of these embellishments take longer to rig and lead to more frequent tangles, more expensive break-offs, and more foul hooked fish.
The Importance of Proximity
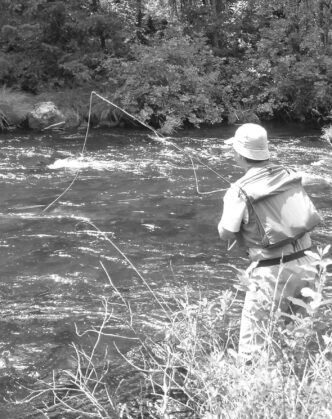
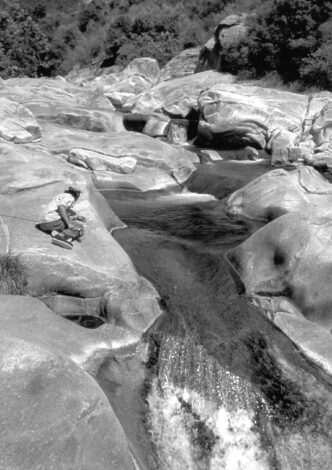
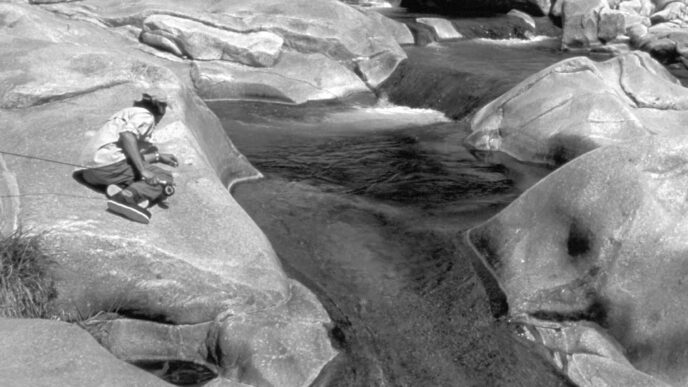
Now that we’re rigged, let’s try to catch a fish. The most important factor in being successful when fishing pocket water is your position. The absolute best place to stand (or sit, lean, or crouch) is directly across from the fish you’re trying to catch. Will you be able to see the fish? No. But your experience in reading the water should give you a pretty good idea where the fish is holding. You should position yourself straight across the river from the fish about one and a half to two rod lengths away from the fish. Can you get this close without spooking the fish? Yes! Don’t go out of your way to make extra noise or commotion, but in fast-moving water, it’s easy to get close to fish without spooking them. It helps to approach each new spot from downstream so that fish don’t see you coming.
Since your position relative to the fish is so important, many guides have postulated that your most important piece of equipment on a freestone river is your wading staff. I prefer a collapsible wading staff that is sturdy, easy to deploy and put away, and designed specifically for fishing. An old ski pole with the basket removed or a modified broomstick are also excellent choices. Your wading staff should have a lanyard about three feet long. Tie your wading staff to your wading belt, and off you go.
Presenting the Nymph
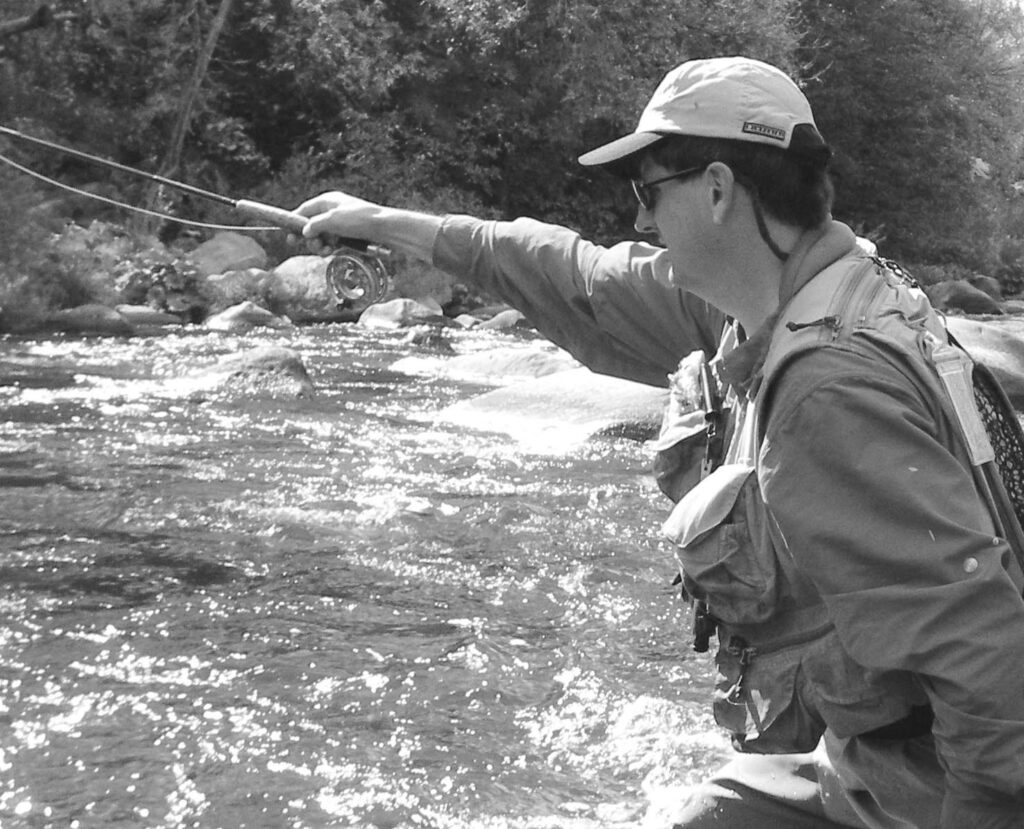
Once you’re in position, it’s time to make your first presentation. Roll cast or lob your fly right over the top of your head toward your target. You should land the fly a few feet upstream from your fish. Under no circumstances should you do any overhead casting. A simple lob cast is much more accurate and much less likely to tangle. Longtime guide David Cooks has summarized the casting motion succinctly: “Look, point, and push.” Look at the spot where the fly should land, point the thumb of your rod hand at the spot, and push the rod forward. It sounds simple, but it’s the best way to make the fly and BB land in the right spot.
Now that your fly is in the water, it’s time to start “high sticking,” right? Well, this is the point where our terminology sometimes gets in our way. The term “high sticking” might lead you to believe that you should hold the rod tip up high. In fact, the rod should be held almost horizontal as you make your drift. The reasons for keeping the rod “flat” instead of “high” are many and have everything to do with setting the hook.
Each aspect of this short-line nymphing technique is predicated on being able to set the hook quickly and effectively. And since the vast majority of our hook sets don’t result in hooking a fish, we need an effective way to get our fly back into the water without losing it in a tree or getting tangled. Hence “Lob, lift, and lead,” a mantra passed down through generations of guides and recreational anglers. Lob the fly upstream from the fish, lift the rod to shoulder height at the horizontal position, and lead the fly downstream.
Lift the rod tip up so you can lift your line off the surface of the water. When you’re less than two rod lengths away from our fish, you can lift the line off the water without dragging your fly. It’s advantageous to get that line up and off the water so it doesn’t get caught in the multitude of currents or wrap around logs and boulders. If you were 30 feet away, it wouldn’t work to lift your line off the water, because the fly would drag in toward you. But since you’re close to your fish, you can get away with it, so lift the line up.
Since you’re not laying your line on the water, there is no need to do any mending. A typical drift in pocket water is going to be about 10 feet long and take about five seconds. Save those mends for spots when you can’t get close to your fish and you have to lay a bunch of line on the water. They won’t help you in pocket water, and they’ll actually decrease your chances of hooking a fish. If you start mending your line, you are likely to miss the grab or interrupt your drift.
Now to the “lead” part of “Lob, lift, and lead.” The rod stays downstream from the fly to enable a quick downstream-andlow hook set. The fish are generally facing upstream, so you want to pull the hook into their mouths by setting downstream. Also, setting the hook downstream and low means that the fly and BB will stay in the water, or at least low to the water, if you miss the fish. The problem with having the rod tip way up high is that it leads to setting the hook way up high or right at the angler. If you miss your fish, your fly will probably tangle around your rod or get stuck in a tree behind you. By keeping the rod flat and setting the hook downstream and low, it’s easy to lob your fly right back up into the head of the pocket in the same motion as the missed hook set.
If you watch an angler who is proficient with this technique, you’ll notice that the rhythm of the presentations isn’t interrupted by setting the hook. Setting the hook and not connecting with a fish is just the end of one presentation, and the fly goes right back for the next presentation. The fly stays in the water a very high percentage of the time.
We’ve discussed the common themes that apply to short-line nymphing both with and without a strike indicator. Now let’s dive in and explore the two variations in detail.
Using a Strike Indicator
A strike indicator is a great tool when you’re short-line nymphing. I prefer yarn indicators and “corkies,” which are spherical floats with a hole drilled through the middle. Corkies are threaded on the line and secured with a toothpick. I really like Thingamabobbers for “low sticking” (aka nymphing from a drift boat), but I don’t think they’re the best choice in pocket water. There are many types of indicators, and they all work, but yarn and corkies work best for me.
When you get to your spot, position your indicator about equal to the perceived depth of the water. It’s good to start out on the shallow side. If there is a hungry fish in the hole, he’ll eat the fly. It’s also nice to not snag on the bottom on your very first drift. Start shallow, then adjust your weight and the length of the drop if you feel like you’re not getting down.
Indicators are great because they take the mystery out of detecting a strike. If you’re going to use a bobber, believe in the bobber. If it goes down, or stops, or does anything strange, set the hook right away. Don’t ask questions. Don’t muse on the possible causes of the bobber’s disappearance or odd movement. If you’re going to put a bobber on your line and want to fish it effectively, you need to set the hook when it stops drifting naturally. Every time. You might think your fly is just stuck on a rock. Well, it’s probably better to set the hook instead of leaving it there stuck to the rock all day. When I’m guiding and I have a client who is trying to ascertain the cause of an interrupted drift, I suggest he or she go into “caveman mode.” In caveman mode, if bobber go down you set hook!
One important aspect of fishing with a strike indicator in pocket water is to keep everything straightened out. When you make your cast, watch the fly and BB land on the far side of the indicator. The tippet in between should be fully extended, and the fly and BB should be more or less straight out from your indicator and upstream of it. This way, the indicator is dragging the fly downstream, keeping the
tippet straight and maximizing your chance of detecting a strike. Keeping everything straight at the beginning of the drift is important because your fish might attack your fly within a second of your rig landing on your first drift. Once you’ve made a few drifts in a spot, you might play around with a tuck cast or some other trick that might get your flies a little deeper.
Nymphing without an Indicator
Strike indicators are great, and they make short-line nymphing so simple that you can catch a fish on your very first cast. However, the best pocket-water anglers are the ones who know how to fish without a strike indicator. Done properly, short-line nymphing without an indicator is hands-down the most effective technique for hooking trout in pocket water.
There are two main approaches to this technique, a touchy-feely approach and a visual approach. The touchy-feely way involves lots of BBs, enough so that your weights and fly are literally bouncing along the bottom on a rather tight leader. Since your line is pretty tight, you will probably feel the grab when the fish eats your fly. Throughout the course of each drift, you will try by feel to divine the difference between rocks and fish.
I prefer the visual approach, in which the angler mainly tries to detect the strike by watching the fly line and leader. Many anglers add a bright red Amnesia butt section to their fly lines to help with this technique. Several companies make nymphing lines that are orange at the tip. Another good way to go is to use a one-foot section of 25-pound-test Amnesia with a Perfection Loop in both ends. When it’s time to fish nymphs, you just loop this section between the fly line and leader. Some anglers make this modular butt-section out of two colors of Amnesia for better visibility.
The visual approach also involves using less weight. In most circumstances, I start out with just one or two BBs above my fly. It’s always good to start light in each spot. Once you lob your fly upstream, to the top of the pocket, your rod should already be up in the horizontal position by the time the fly lands. That way, you’re ready to detect a strike right away. Don’t try to find the bottom of the hole on your first drift. Keep the rod tip well downstream and gently swim your flies down through the pocket. With each successive drift, try slowing the drift down or lowering the rod to probe deeper into the hole.
The great thing about short-line nymphing without an indicator is that you can fish pockets of any depth with the same rig. Keep your rod a little higher and lead the fly a little faster in the shallow runs. In the deeper runs, hesitate a little at the beginning of the drift, lead the fly a little more slowly, and lower the rod tip to get down deeper.
Detecting the strike isn’t all that hard with this technique. Just watch the end of your fly line or butt section as you lead your fly downstream. If you have really good eyes, you can watch the leader where it enters the water. If your line does anything strange, set the hook. On every single drift, you should find an excuse to set the hook. If five drifts go by and you haven’t set the hook, you’re definitely missing some opportunities.
This visual technique works great when there is no wind or if there is a downstream wind. If you have an upstream wind, it becomes difficult, because the wind will blow the leader upstream, making it hard to detect strikes. When the wind comes up big time, I just attach a strike indicator and keep at it.
If you haven’t tried this technique before, I recommend spending a day on the Pit River, North Fork of the Feather River, upper Sacramento, or any other great California freestone river and giving it a try. From “high sticking” to “tight lining,” short-line nymphing has a lot of names, but it works anywhere that you find pocket water. We may not know what it’s called, but you can be sure that it works!


")