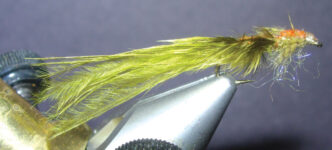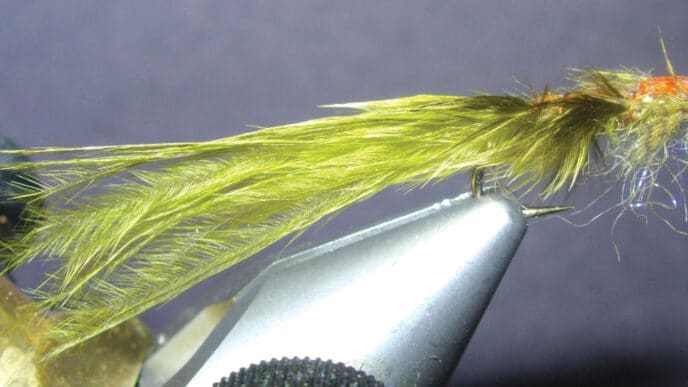
This issue, I’m featuring the French Nymph, a pattern tied by fly designer Steve Korbay. It is simple to make and uses commonly available materials, with one very unique exception: Instead of using a standard nymph hook, Steve ties the fly on a small (size 14 to 18) 60-degree jig hook. Anglers who fish for stripers and other bass species and in saltwater environs are familiar with jig hooks — big, beefy, strong jig hooks. But small jig hooks for trout flies? Now that’s the type of elegant, outside-the-box fly-design thinking that spurs the imagination. Wow! Think about the possibilities: A jig-style Prince Nymph, Pheasant Tail Nymph, Hare’s Ear, Bird’s Nest. . . .
If you attend the International Sportsmen’s Exposition shows or The Fly Fishing Show, you’ve likely seen Steve behind his vise, with lots of eager observers huddled around watching him perform his artistry. You may also have visited his booth, where he sells select tying materials as part of his Internet business called Fly Tying Specialties. Steve is known for his ability to find and utilize unique tying materials that make it easier to tie creatures that are eye appealing to tyers and, more importantly, seductive to our quarry. So, when you see Steve at the shows, you get a “twofer”: availability of some unique and interesting materials and a demonstration on how to utilize them effectively.
Steve grew up fishing Sierra streams and lakes, beginning, like many of us, with a spinning rod. Early on, he saw the light and transitioned to the long rod that we know and love. From there, it was a natural progression in his fly-angling career to explore the creative art of fly tying. Always searching for new patterns and materials, Steve found that a whole subset of unique tying materials were unavailable domestically. Sensing an entrepreneurial opportunity, Steve now imports a broad array of fly-tying products from several European countries.
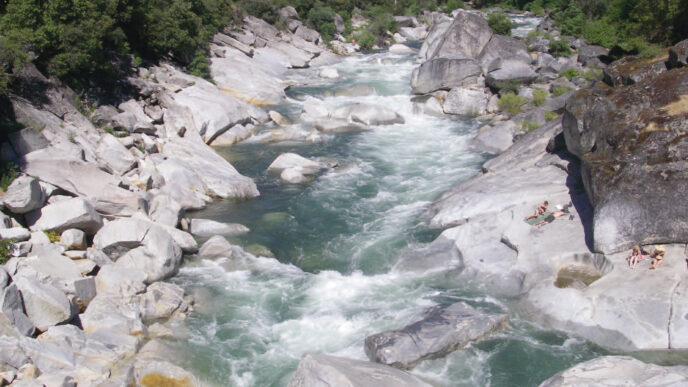
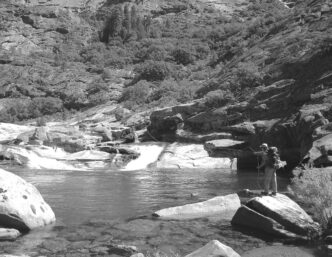
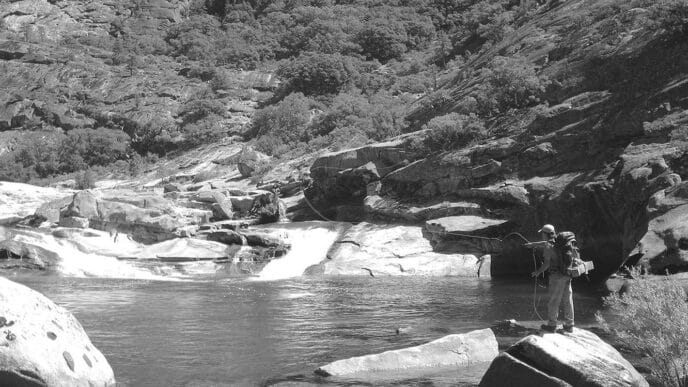
For my style of pocket-water fishing — short-line nymphing — I prefer grenadelike, go-straight-to-the-bottom, do-not-pass-go flies because they get right down (literally) to the business at hand: dredging out those bottom-hugging, sometimes-sulky, often quite large dogs that like to hang out in the complex milieu behind, in front of, or near in-stream obstacles that slow the flow. My guiding boxes are stuffed with examples of large, heavy caddis, stonefly, and other patterns that get the job done. Still, I always include at least one small fly on my nymph rig. At times, they seem to work the magic when the heavies fail outright or just stop producing. Steve’s pattern, which he calls the “French Nymph,” clearly qualifies as a small pocket-water rascal that I intend to trail behind my big dudes. Here’s Steve on the story behind the French Nymph, some strategies for fishing it, and the tying recipe.
“When it comes to tying flies, I think most of us begin with the basics and progress to different, more complex, or more interesting styles and patterns. Then we begin to specialize in the patterns that we fish the most and perhaps those we simply enjoy tying. For me, it is always refreshing to find or develop a new pattern or to discover and use a new hook, material, or technique that brings back the excitement that comes with tying that first fly. The French Nymph is a case in point.
“While Czech nymphing one of my favorite stretches of the Truckee River, I wasn’t getting as many takes as I normally do. Parsing out options, I recalled that I had recently tied some small tungsten beadhead nymphs using jig hooks, after hearing and reading a lot about a certain French nymph design. Leaving a heavy Czech nymph on the middle dropper of my Czech rig, I dug out and placed one of these much smaller patterns at the top dropper position and added another as a point fly at the end of the rig. Success came quickly as several nice fish took the size 14 point nymph trailing behind the much larger pattern. It’s always hard to say for sure why one fly works and others don’t, but in this case, it seems reasonable to assume that the fish simply keyed on the smaller offering and decided to eat it.
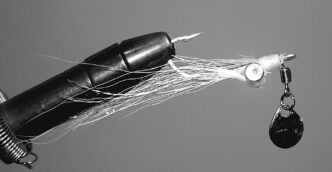
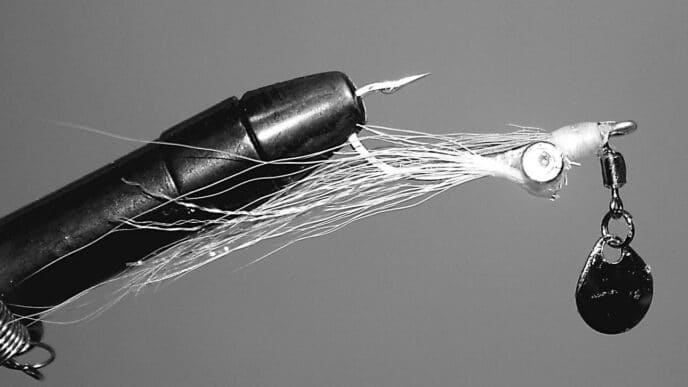
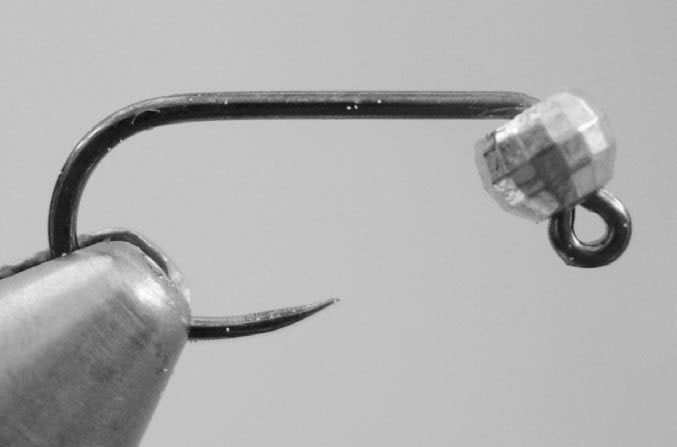
“The French Nymph is not my original design. It has been used for several years now by competitive European anglers and was developed — you guessed it — by French fly anglers. Unlike the Czech nymphing style, where large caddis patterns and a short section of line and leader are used, the French method utilizes a light leader of considerable length, a direct-upstream presentation, much smaller flies, and a more traditional casting method. These small nymph patterns are tied on 60-degree ‘jig’-style hooks, which give the fly a very distinctive look. Because the bead actually sits in the short bent section behind the eye and is often oversized in relation to the hook, a French Nymph will sink quickly, ride upside down in the current, and lessen the chance of hooking a ‘native boulder trout.’ ”
[Editor’s note: Jig hooks in small sizes are hard to find. Steve uses imported hooks made by two manufacturers: Kropek and Skalka. Tiemco makes a hook dubbed the 108SP-BL that resembles a jig hook, but does not have the vertically oriented eye featured by true jig hooks. You can find sources for the two imports on the Internet, and Steve imports them, too (www.flytyingspecialties.com.)]
“The French Nymph is in reality a style of tying, rather than a specific pattern. Variations are limited only by your creativity. For example, in addition to building one with pheasant tail fibers, which are used for the fly featured here, try using a simple thread body for the smaller sizes; tie one with a dubbed body; tie one of the traditional patterns using a jig hook, such as a Hare’s Ear; or use almost any combination of natural and synthetic materials — just use your imagination and be creative.
“Most French Nymphs incorporate a “hot spot,” as do many of the Czech nymphs. This is nothing more than a small amount of brightly colored dubbing usually added just behind the bead. I have enjoyed success with the addition of a hot spot on traditional patterns.
“Finally, the key to any good nymph intended for fast water nymphing is that it must be weighted properly to stay in contact with the bottom. In addition to the built-in weight of the tungsten bead, French nymphs are tied to be slim so as to slip through the water column without the hindrance of bulky fibers, rubber legs, or other materials that create buoyancy either by virtue of their bulk or because buoyant materials are used.
“French nymphs are of course not limited to European waters. I, along with others, have been experimenting with them and with French fishing techniques here at home. They work quite well in our local streams, whether they are used with a traditional indicator rig, a short-line rig, or with long, tapered leaders. I believe that they imitate a wide variety of small mayfly nymphs that are abundant and available to the trout throughout the year.”
Materials
Hook: 60-degree jig-style hook, size 14 to 18
Thread: Orange 8/0
Bead: Faceted gold tungsten
Tail: Pheasant tail fibers
Ribbing: Small silver wire
Back: Fine pearlescent flat tinsel
Body: Pheasant tail fibers
Thorax: Black dubbing, followed by bright orange dubbing
Steve’s Tying Instructions
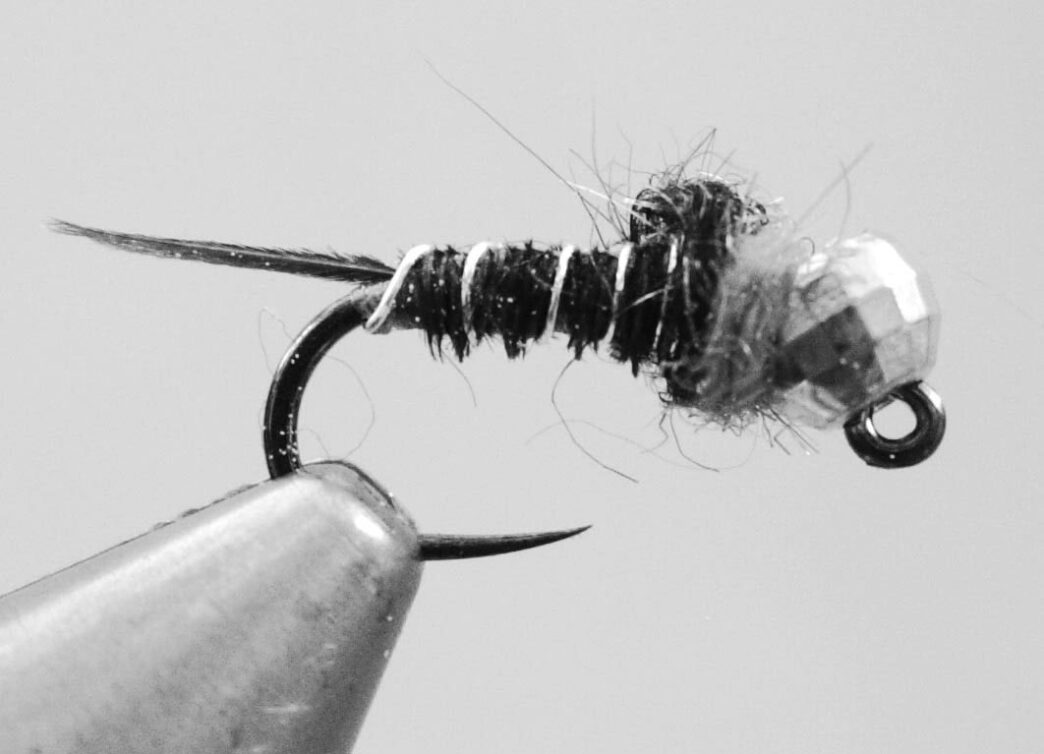
Step 1: Debarb the hook. Place the tungsten bead on the hook with the small side of the beveled bead hole to the front and slide it forward so that it sits on the angled portion of the hook, just behind the eye. Place the hook in the vise in the usual position — point side down. The hook remains in this tying position during the entire tying sequence. Apply a thread base, creating a tapered underbody.
Step 2: For the tail, tie in three pheasant tail fibers on top of the bend. Tie down the butts of the barbules, winding the thread back up to the bead. Doing so will help enhance the taper of the abdomen.
Step 3: Tie in the silver wire ribbing behind the bead and wind the thread over it and back down to a point just slightly in front of the tail fibers. Bring the thread back to the bead and tie in the flat tinsel directly on top of the hook. Keeping the tinsel centered on the shank, wrap over it, back to the base of the tail.
Step 4: Trim away the delicate tips of three or four pheasant tail fibers. Attach the fibers by their tips in front of the tail with several secure thread wraps. Coat the hook shank with head cement to add durability to the fly and return the thread to the bead. Wrap the fibers forward, leaving a gap behind the bead. The gap should be sufficient to accommodate several wraps of dubbing.
Step 5: Pull the flat tinsel over the back of the fly and tie it off behind the bead. Wind several evenly spaced turns of the wire up the abdomen and tie it off behind the bead.
Step 6: Form a dubbing loop with the thread, fill it sparsely with black dubbing, and apply it behind the bead to form the thorax. Make sure you leave enough room behind the bead for the next step.
Step 7: Create another dubbing loop, again filling it with a sparse amount of bright orange dubbing. Should you wish to do so, you can spin the bright orange dubbing directly onto the thread instead of using a dubbing loop. Fill in the small gap just behind the bead with the orange dubbing. Because the bead is seated on the shank in a downward orientation, you’ll need to work with the thread and dubbing to make the downward turn and end up behind the bead. Adjust the hook in the vise so that the eye is in position to finish the fly; whip finish behind the eye, and the fly is done.
Note: Don’t worry if there is a small void just behind the bead. It is not necessary to fill this with material.
We tyers seem to have overlooked small jig hooks in our quest for better nymph patterns. Steve’s French Nymph presents a different perspective on hook functionality. Give his design a field test and let us know what you think. Be careful out there, but be there.
Why Use a Jig Hook?
I’ve used jig hooks for large saltwater patterns and for “crossover” (saltwater and freshwater) flies such as the Clouser Minnow, and the thought of using them for trout flies intrigues me. But there is this nagging question: Why? Why not stick with the traditional J-style hook? There are a number of reasons.
According to Dan Blanton, jig hooks never cause gill hooking, which makes it much easier to release fish — assuming, of course, that the barb has been pinched down. Most fish caught on a 60-degree jig hook are hooked, he says, in the top or corner of the mouth. Come to think of it, this has been my experience when fishing for stripers, black bass, and smallies.
Blanton also states that a 60-degree jig hook will produce a better hook set due to the lever action of the bend. As you pull on the line, the hook’s angle presses the hook point farther into the fish’s jaw. He also claims that a 60-degree hook is superior to its 90-degree cousin in the hooking success category.
Also, the hook point is always on top with a jig hook, which results in fewer bottom hang-ups. In effect, a jig hook takes the place of a weed guard, which some fly fishers shy away from because it interferes with hooking a fish.
While these reasons may be less than totally convincing, the jig hook design concept deserves a try in the design of trout flies. A jig-style stonefly pattern? A jigstyle Bill’s Stick Caddis, perhaps? The possibilities are endless.
Bill Carnazzo