

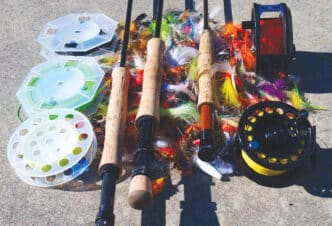
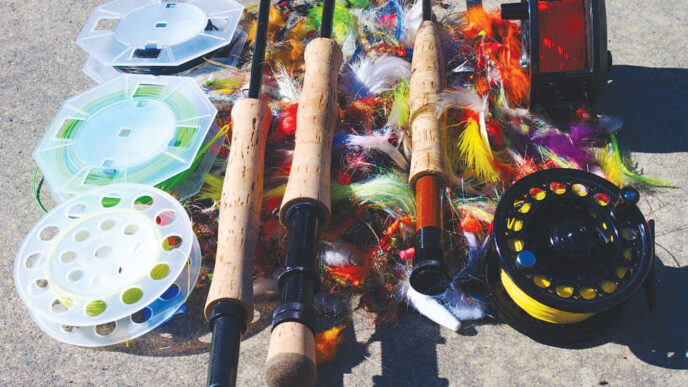
Modern fly lines are marvels of chemical engineering and computer-controlled production. The experts at the major line companies creatively combine coatings, cores, and tapers to produce an amazing array of fly lines. Despite all of the twenty-first century technology, however, there are still a few things you can do to fine-tune lines to meet specific fly-fishing needs. A few simple modifications can make a noticeable difference on the water.
Unwanted Sink-Tips
An irritating problem with some floating fly lines is the tendency for the tip of the fly line to sink after a few hours of fishing. I have had a number of lines that suffered from this ailment. Most freshwater floating fly lines are built on a multifilament polyester core. This material provides good line flexibility in both cold and warm water, making the line suitable for use year-round. The downside is that this material absorbs water. If the core is exposed, it will readily wick water inside the line. The tip sinks as a result of the core being exposed at the very end of the fly line. The solution to this problem is quite simple. All you need to do is allow the line to dry thoroughly and apply Zap-a-Gap superglue to the end. The wicking action of the core will suck the superglue into the line and seal it. If the problem starts while you are out fishing, a stopgap measure is to dress the end of the line frequently with a paste floatant. This will usually provide enough added floatation to the line to allow you to fish until the end of the day.
Pretty Colors
Lines come in an impressive variety of colors. Tackle-store line displays often resemble a Rastafarian wedding, with racks of green, white, yellow, and bright orange lines. For many fishing situations, line color is not overly important. As long as the line gets the fly to the fish, you are in business.
There are times, however, when line color is important. On clear waters subject to heavy fishing pressure, a bright line can be a real liability. During casting, white and chartreuse-colored lines can reflect enough light to flash over the water. Often, your first tip-off that the line has blown your cover is when the fish spook and bolt. On really technical waters, the fish may not swim off — they simply stop feeding. Once this has happened, neither fly changes nor perfect casts will get a take. You can waste a lot of fishing time flogging wise fish.
If you suspect your line is too bright, you have a couple of options. An obvious solution is to go out and stimulate the economy by purchasing a light gray or olive line that is less flashy. Another solution is to spend about three dollars on a packet of Rit fabric dye. Dark green Rit dye will turn most light-colored fly lines a dull olive green.
The process is quite simple. First of all, strip the first 40 to 50 feet of line of your reel and clean it thoroughly with soapy water. You can clean and dye the whole line, if you like, but this is not really necessary. Rinse the line in clean water to remove all dirt, goo, and soap scum. Heat a quart of water in pan until it reaches 110 to 120 degrees Fahrenheit. Pour the hot water into a bucket or disposable container and add teaspoon of dye. This stuff can stain all kinds of materials and surfaces, so chose your dying area carefully. Stir the dye in so it that it fully dissolves, then drop the cleaned line into the container. To get an even color, make sure the line is fully submerged. Leave the line to soak anywhere from 30 minutes to an hour. When it has turned the desired shade of green, fish the line out and give it a rinse in cold water to stop the process and remove all residual traces of dye.
Leaving a Smaller Tip
All fly lines are produced with a level tip section to which you attach the leader butt. The tip is usually 6 to 12 inches long, but may be longer. On most lines, all you really need is about 6 inches of tip. This is long enough to allow several inches to be removed during leader changes without cutting into the important front taper.
Long tips can cause problems. When fishing heavy or wind-resistant flies, a long tip section can sometimes hinder leader turnover. If you fish heavily weighted nymphs, big bass bugs, or Clousers, make sure your line tip is 12 inches long or less. The shorter tip will make good casts a bit easier, and you will still have plenty of line left for numerous future leader changes.
Supersmooth Leader Connections
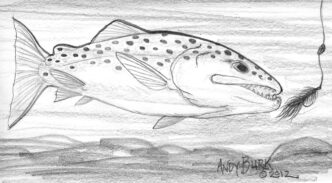
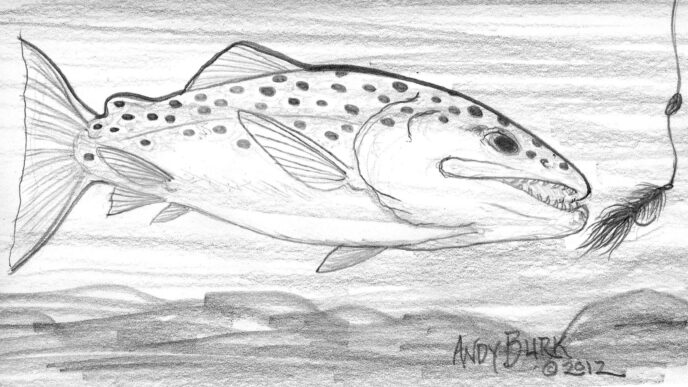
Most of the time, a Nail Knot is all you need to connect your leader to the fly line. The connection is simple and almost foolproof. Problems can arise, however, when using long leaders and fighting big fish. The first time I found out about this was many years back on the Fall River. I had managed to hook a large trout on an emerger pattern knotted to the end of a 16-foot leader. I was having a wonderful time as the fish took several runs downriver. Eventually, the fish tired and allowed me to bring it slowly toward the waiting net. I had managed to get the leader knot a couple of feet down the rod when the fish decided it was time to make one last run. The knot momentarily wedged itself against one of my guides, and in a millisecond, the tippet parted. The fish wasted no time in bolting into the weeds. That was the last time I ever used a Nail Knot for trout fishing.
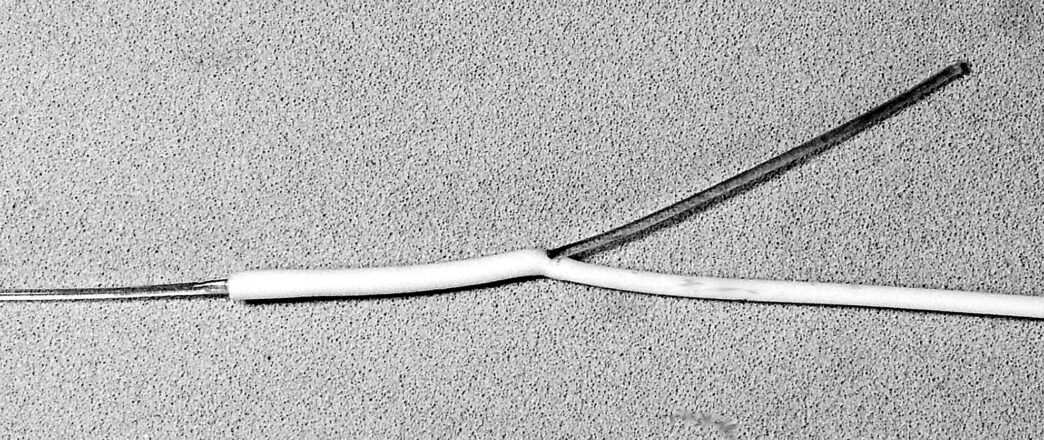
There are alternatives to the Nail Knot, such as the Pin Knot or braided loops, that provide a slightly smoother connection. However, there is one technique that yields an almost perfectly smooth transition — a spliced leader. The technique is based on the line-splicing system developed by West Coast steelheaders and first described in Trey Combs’s 1976 book, Steelhead Fly Fishing and Flies. Basically, the butt end of your leader is drawn into the end of your fly line and secured with superglue.
This technique is really suitable only for lines with braided multifilament cores. Mono-core lines cannot be spliced, and braided-nylon cores don’t always provide secure connections. There are a couple of kits available to help you do this job easily and cleanly. I have not tried them, but am sure they work very well. Instead, I use a number 8 or number 9 crewel sewing needle, a fly-tying vise, Zap-a-Gap superglue, and some 400-grit sandpaper, and you can, too. To make things easier, make sure the needle has a slim eye.
Put the pointed end of the needle into the vise and clamp down tightly, leaving about one inch of needle exposed at the eye. Next, take the end of your fly line and feed it over the eye of the needle, using a pushing/key-twisting motion. If the line refuses to go more than an eighth of an inch, pull it off, cut the fly line back a quarter of an inch, and try again. You probably did not get the needle inside the core. If that fails, use a piece of rubber or other material that will give you a firmer grip and enable you to force the line over the needle.
Having got at least half an inch of needle inside the line, you now need to make the eye exit through the side of the line. To do that, simply bend the line at a right angle next to the buried needle eye and continue to use the key twist and pushing motion. This will force the eye through the side of the line.

Once the eye is exposed, turn your attention to the leader. First, abrade the last couple of inches of the butt end of the leader with sandpaper. There’s no need to go wild — all you need is a rough area for the glue to grab. Now put the tippet end of the leader through the needle eye and pull through at least a couple of feet of leader. Reversing the key-twist motion, pull the line off the needle. This will draw the leader into the line. Once you have the needle free of the line continue pulling on the leader until the abraded butt end is close to the fly line’s tip. Make a few pulls on the line and leader to get a sense of the tension needed. Once you are comfortable with the motion, pull the line back to expose the abraded leader. Put superglue on the abraded leader, making sure to coat the entire abraded surface that will be inside the fly line. Now pull on the leader and line as before. Lubrication provided by the superglue should make the motion a bit easier.
Once the leader butt is inside the fly line, use a pair of nippers to clip off the excess butt material, the section that is left is poking out of the side of the line. Put a drop of superglue on that spot to seal the line. Wait a minute or two, then pull on the line and leader to test the splice. If you have done it right, the connection should hold with even a strong pull.
If it fails, try again. It can take a couple of attempts to get the feel for this technique, so don’t be discouraged if one or two attempts result in failed bonds.
Line Splicing
The splicing technique can also be used to repair worn lines or create totally unique fly lines. Spey-rod aficionados have used this procedure to create some revolutionary lines. Instead of splicing nylon leader material into the fly line, you are running the core of one section of fly line into the core of another. Done properly, the connection is almost unnoticeable and unlikely to fail in most fishing situations. I have landed surf stripers, large trout, and bonefish on spliced lines.
Line splicing uses the same needle-based system as in the leader-splicing technique. There is one minor, though important difference in the technique. You need to blunt the needle’s sharp end smoothly with a file. It is this end of the needle that is forced into the receiving, “female” fly line. Instead of drawing a leader into the fly line, you are drawing the core of the other, “male” line inside. The male line can be based on any core type, though braided multifilament is usually the best. The best female lines have a multifilament core. Braided monofilament cores (mainly used in saltwater lines) can work, but the bonding may not be as strong as with the multifilament lines. Mono-core lines won’t work, since you can’t force the other line inside solid mono.

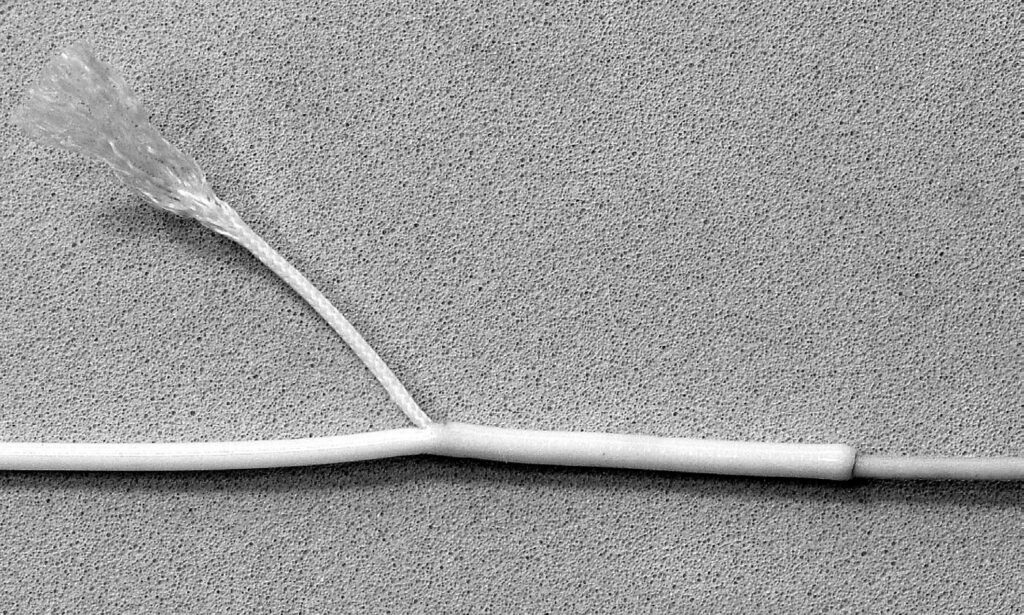
Obviously, the core of the male line has to be exposed. There are two ways to do this. You can soak the end of the line in acetone (nail polish remover) and strip off the softened coating. This works well, but is best done in a well-ventilated area. Another method is to shear the coating off the core by tightening an overhand knot of 15-pound-test mono around the line and pulling the line though, thus cutting the coating and pulling it off. I do this in one-half-inch increments to make the stripping process less strenuous.
Once you have a couple of inches of core exposed, you need to make the first half of an inch skinny enough to fit inside the eye of the needle. With multifilament and braided-core lines, you do this by fraying the end and using fine scissors to remove some of the threads. Snipping the end to create a spear shape yields the best results. For mono-core lines, I abrade the line with sandpaper and then squish the first inch flat using duck-billed pliers or a hammer and flat metal surface. The flattened mono can then be cut to a spear point using a sharp blade.
Secure the eye end of the needle in the vise and push the blunted point into the female line. The blunted end of the needle should be made to exit about three-quarters of an inch up the line. Now flip the needle (and line) and secure the blunt end of the needle in the vise.
Next you need to thread about a quarter inch of the thinned section of the male core through the needle eye. This step can be fussy. It helps to moisten the frayed section lightly so the fibers don’t flare out. A needle threader (available at any craft store) can also be used to good effect.
Once you have the male core through the needle eye, pull the female section of line back over the needle and male core, using the key twist and pulling motion. Depending on the thickness of the cores, this may take a fair bit of work, so you will need to be patient.
Eventually you will have the end of the male core exiting the side of the other line. Being careful not to lose the free end back inside the line, gently pull the male line away from the female piece to expose about three-quarters of an inch of core between them. Coat the exposed core in superglue and pull it back inside the other line until the plastic coatings on both lines butt up against each other. Instead of superglue, you can use Aquaseal, which creates a more flexible and durable union. Just make sure you allow 24 hours for the Aquaseal to cure before using the line.
Using sharp nippers or a razor blade, cleanly remove the tag end from the side of the line. Put a small drop of superglue at that point. Finally, test the union by pulling on it hard.
How hard? As hard as the biggest fish you plan to catch.


")