
If you have read my column regularly, you may have noticed a degree of shameless promotion for the fly called the Dirk Wiggler. To my surprise and delight, one reader and my editor both requested that I devote an entire column to the pattern, including an explanation of its name, a picture, recipe, and tying instructions. My initial reaction to this request was “Tough luck — go buy a couple of them from your local fly shop!” This is my only signature fly, my only claim to fame. I mean, seriously, what could possibly motivate me to disclose the secret of the Dirk Wiggler?
Well, it’s just a fly, after all. Actually, I am quite flattered by the interest. If you know me, you know that I don’t take myself too seriously. I really don’t have any secrets when it comes to steelhead fishing. I am not going to draw a map on how to get to my favorite runs on the Rogue or the Trinity, but I am more than happy to give up the Dirk if it helps you catch more fish. Just make sure you buy a few from your local fly shop occasionally.
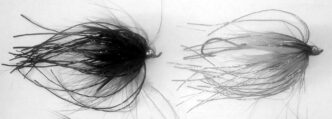
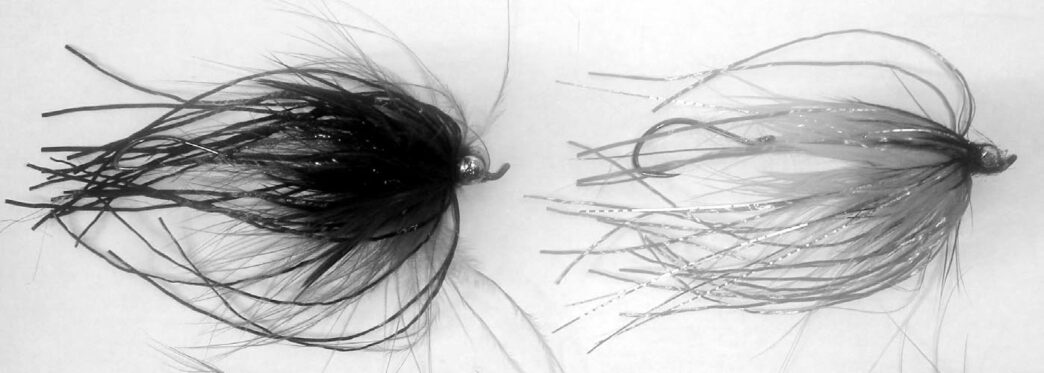
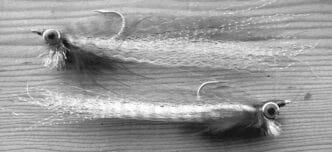
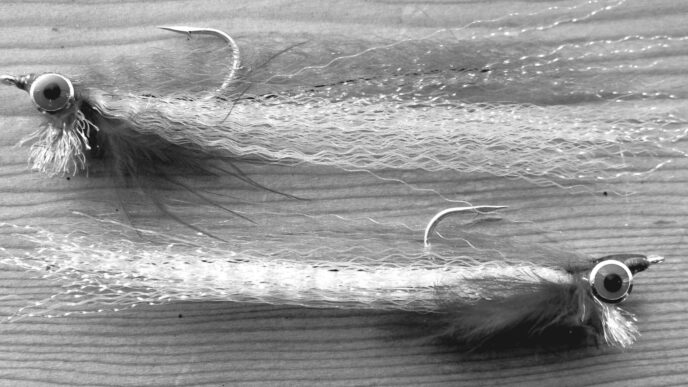
The Dirk Wiggler, which is named after the fictional porn star Dirk Diggler in the film Boogie Nights, was designed to embody the desired attributes of an effective steelhead streamer. Ken Morrish told me years ago that you want such a fly to have a noticeable profile in the water, but without bulk. It has to wiggle and have an internal glow that emanates from the body of the fly. I did my best to accomplish this when I designed the Wiggler. Another criteria is that has to cast easily.
The main wiggle component of the Wiggler is Flex-Floss. It soaks up no water and therefore casts easily and sinks fast. This fly also uses very cheap materials. You can tie a sexy fly without having to buy exotic and expensive stuff. The Wiggler is very durable and gets better with age.
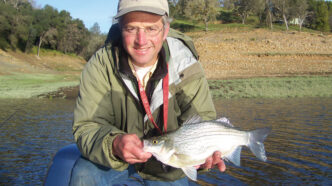
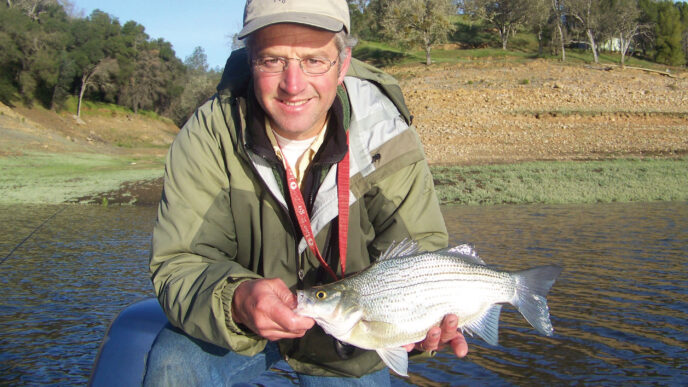
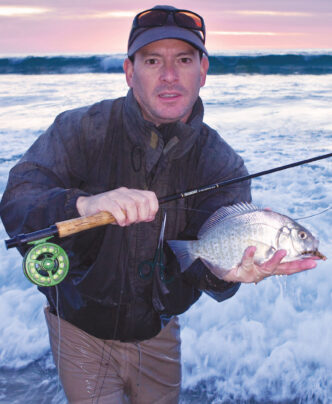
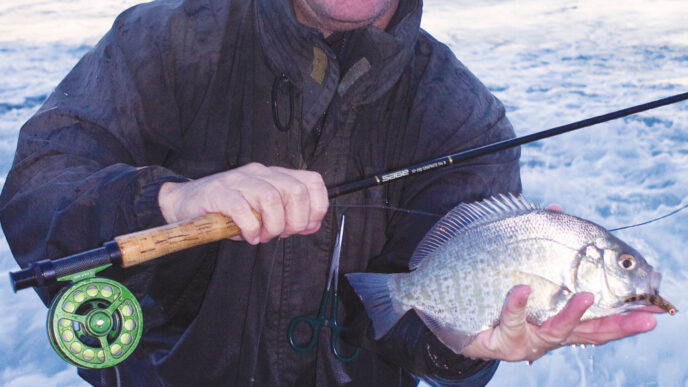
I fish the Wiggler all year, for both summer and winter steelhead. It has proven effective on British Columbia steelhead, on chinook and coho salmon, on Alaska rainbows, and even on Northern California trout. Vary the size and color, and the possibilities are endless.
Materials
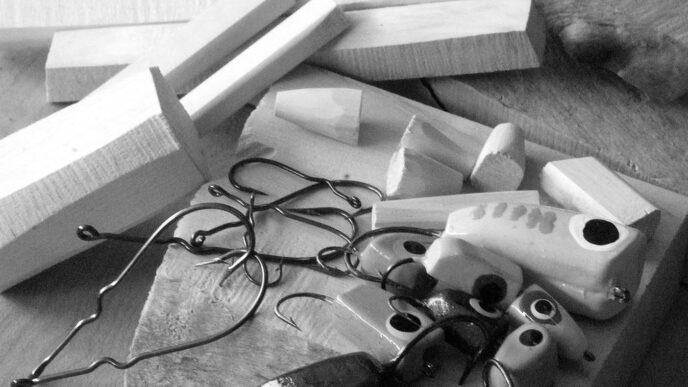
Hooks: Mustad salmon hook, size 1 or 2, Owner SSW bait hook, size 1 to 4, looped to hook shank as a stinger hook with 30-pound to 50-pound Fireline
Thread: Black, pink, or chartreuse, 210 denier (3/0)
Weight: Lead dumbbell eyes in various sizes
Body: Flex-Floss, Lite Brite dubbing, turkey flat, marabou, and tinsel flash
Collar: Schlappen
Head: Ice-Dub dubbing to contrast fly color
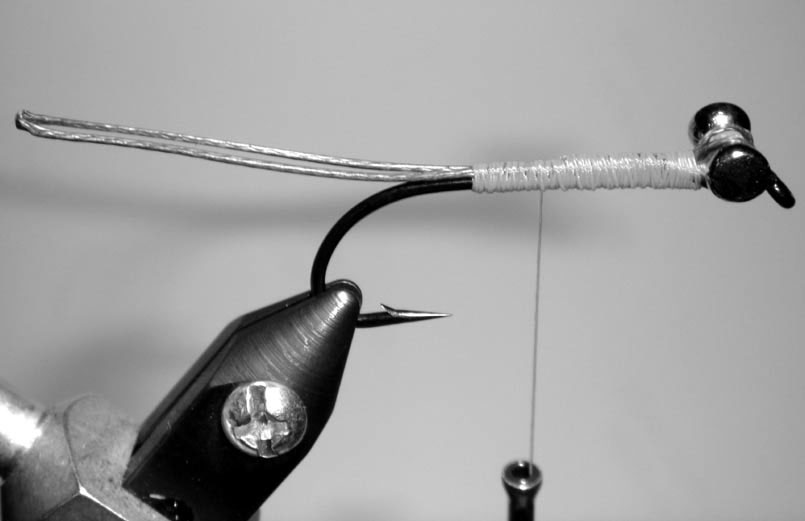
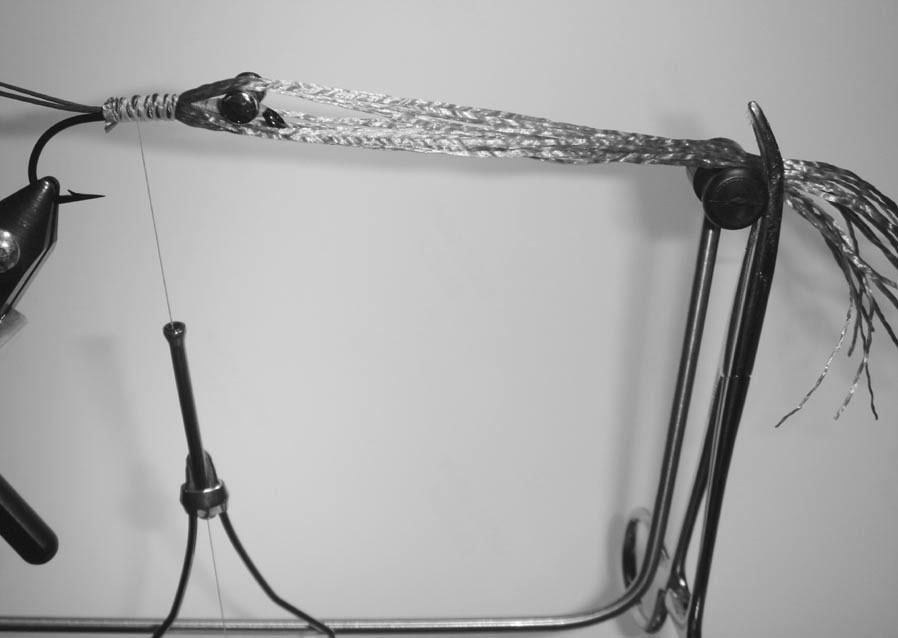
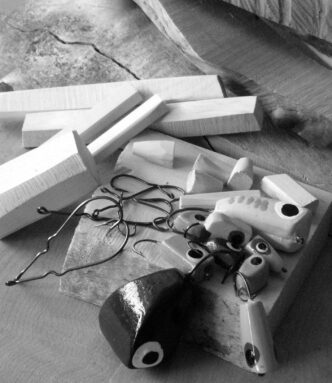
Step 1: Start by pouring a jigger or two of Maker’s Mark over a few ice cubes. This will help. Trust me. Next, grab a hook and put it in the vise. We’re going to cut this hook off at the bend, so I use cheap Mustad salmon hooks, size 1 or 2. Start wrapping the thread near the eye and build a saddle to hold the lead eyes. Tie them in and secure them with figure-eight wraps and wraps around their base, then run the thread about three-quarters of an inch down the shank and back to the lead eyes. The overall body of the fly will be about three-quarters of an inch long
Step 2: Cut about six inches of Fireline and double it over. Tie in the Fireline so that the loop is just over an inch beyond the back of the fly. This will give you enough room to add the trailing hook later. Make your Fireline loop just long enough to get the hook on. If it is too long, it will sag. Secure the Fireline with thread along the length of the hook, forward over the lead eyes, then fold it over and tie it down back along the hook, locking it in. Trim the remaining line.
Step 3: Grab 12 to 15 strands of Flex-Floss and tie them in facing forward, toward the head of the fly, and evenly spaced around the hook. The strands should be six inches long. Secure the FlexFloss with a about half an inch of thread wraps, measuring from the back. Then pull them forward, clamp them off with forceps, and hang them over a bobbin cradle. This will keep them under control and out of the way. The next two materials will be tied in behind the Flex-Floss.
Step 4: Create a dubbing ball around the thread wrap used to secure the FlexFloss. The dubbing ball should be the about the size of a marble. The fly will flare and keep its profile if your dubbing ball is big enough to support it. The longer the fly, the more support it needs. Make your dubbing ball with a lighter color than the body. It will help the fly glow. Also, you can comb out the dubbing ball to your liking. Comb it forward to create more flare or back to create more flash.
At any rate, fibers will eventually start migrating down the fly toward the stinger hook.
Step. 5: Take a turkey flat, tie it in by the tip, and palmer it over the same thread wraps used to secure the Flex-Floss. It will end up between the dubbing ball and the Flex-Floss when it is all said and done. Tie it off, pull the Flex-Floss back toward the rear, and re-secure it with your forceps to keep it under control and out of the way. I hang the forceps over the back of the vise. Now that the FlexFloss is pulled back, the next three materials (marabou, flash, and collar) will be tied in between the Flex-Floss and the lead eyes.
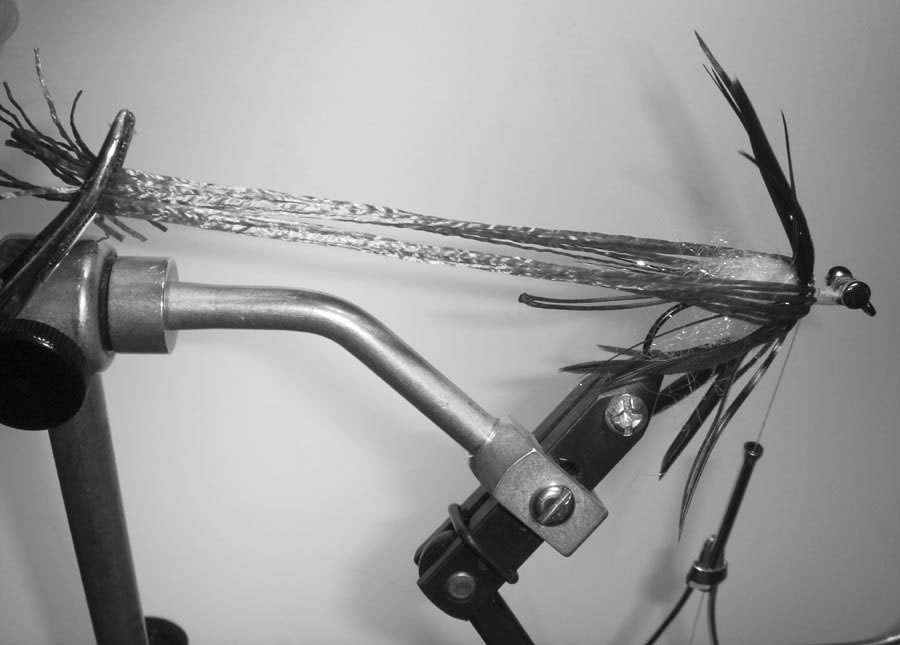
Step 6: This is where you tie in and palmer the marabou. About two wraps will do. You don’t want too much bulk here. Your fly should be sparse enough that you and the fish can see all the materials in it.
Step 7: If you want flash in your fly, tie it in next. Three to five strands per side is plenty. Next, tie in a collar of schlappen. Twice around is sufficient. Finish the fly by dubbing between and around the lead eyes. You want the dubbing to be very tight and neat, just enough to cover the eyes. A dark collar and head contrast well when tying the body in lighter colors. Whip finish.
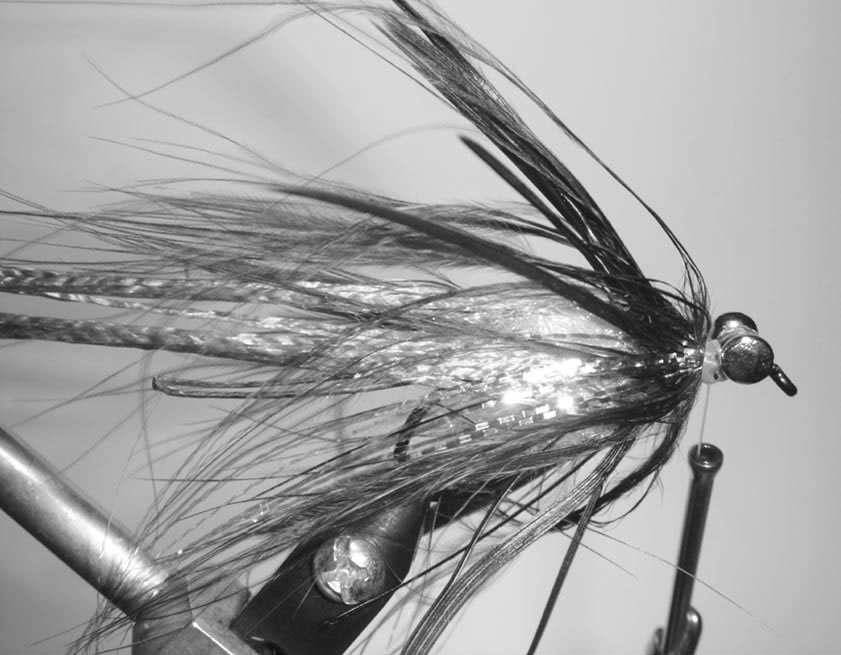
Step 8: Cut the hook out of the vise with wire cutters. Pull the Flex-Floss tight and trim to about four inches. Actually, you can make it anywhere from three to five inches long. Vary the size and color depending on the water conditions. If the Flex-Floss is too long, though, it won’t wiggle as well. There is a happy medium. You will know once you put it in the water. I typically tie mine a little long and trim them on the river to my liking.
Step 9: Use a Sharpie pen to create barring on the fly. Pull the body tight between your fingers and neatly work you way along the length of the fly. I put red tips on some of them. Don’t forget to loop on the trailing hook. I usually do this on the river, as well.
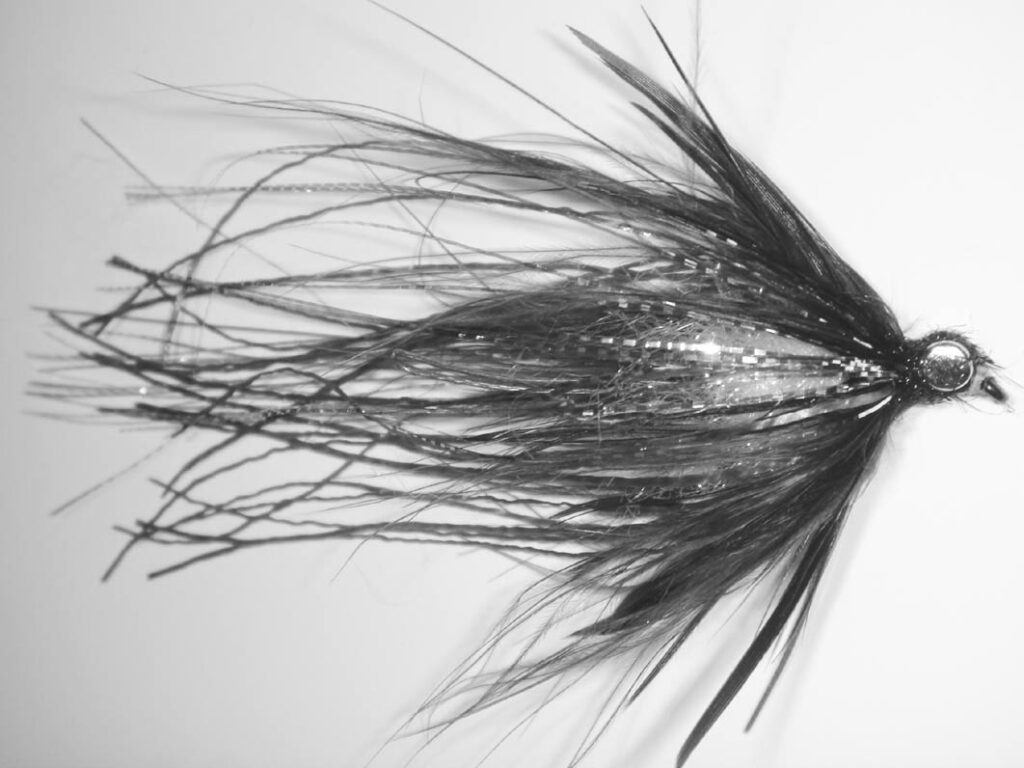
Experiment with different color combinations. You are limited only by your imagination. Flex-Floss comes in a variety of colors. I tie this fly in black, blue, purple, pink, brown, orange, olive, gray, chartreuse, and various combinations thereof. To see or buy a sample production fly, visit your local fly shop. The pattern is produced commercially by the Solitude Fly Company of Alhambra, California. If you have any questions on tying the Wiggler, e-mail me at jon@confluenceoutfitters.com.


")