

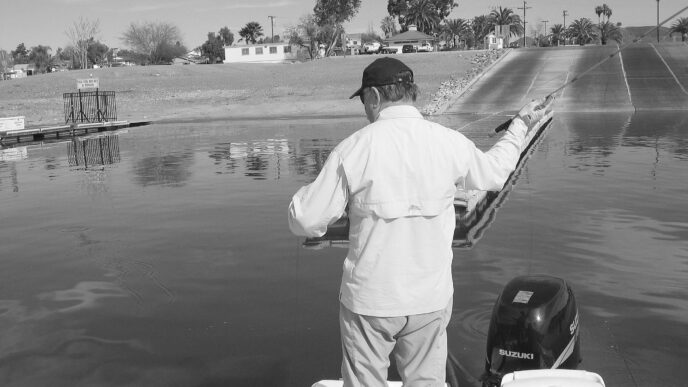
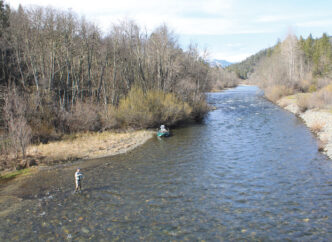
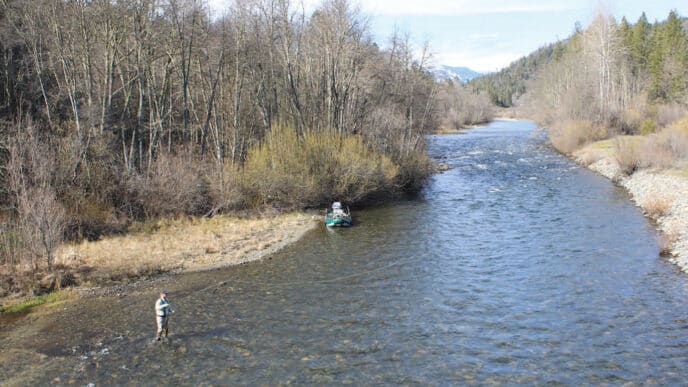
I’m not quite sure what happened to all the flies I tied for my boxes this season, but right now, I’ve got a lot of tying to do to replace them. To tell the truth, I’m really looking forward to it, and now that I am back behind the counter and tying flies for a shop again, I’ve come to remember and appreciate all those tying techniques that faded away in the addled memory of a guy who was just tying to fish, even if I was fishing a lot — there’s no such thing as fishing too much, after all.
The winter fly-tying season is upon us, and it offers the chance to focus on things that will lead to better angling experiences next year. Here are some tips that can make the long hours spent tying flies for the upcoming fishing season more productive as you refill your depleted fly boxes.
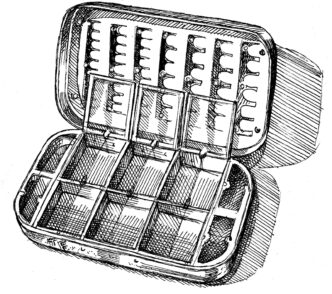
Tie in Quantity
I talk to many people who sit down at the bench and tie only one or two of each pattern. I don’t usually tie a fly unless I am going to tie a minimum of half a dozen, and this is especially true of new flies. If you have only one or two examples of a specific fly, chances are that you won’t fish it as hard as if you had a half dozen or more. “I’m saving that one” is a phrase I’ve heard more than once. To fish a fly with confidence, I’ve got to have a few to lose, a few to give away, and one to save as a model if it’s a new design and works really well. Flies are expendable pieces of art that are used to catch fish. I always figure that the loss of a fly is part of the cost we pay for our pursuit.
On top of all that, nothing makes your flies look and fish better than tying them in quantity. The more of a certain fly you tie, the better you get at tying that fly. Practice makes perfect, but in addition, repetitive tying of the same pattern increases both speed and efficiency.
Take for instance my Hunchback Infrequens Nymph. My Hunchback box currently contains three beat-up size 16 HBIs and about two dozen assorted and sundry HBI variants. When I started the season, this box had almost 12 dozen HBIs and variants in it. Since this is one of my most productive flies and one of my favorite flies to tie, I tie HBIs in mass quantities — at least a dozen of each size and color to fill this box. Here’s how to do it to maximize your tying time.
Start out by preparing all of your hooks and materials ahead of time. I debarb and weight entire packages or boxes of hooks all at once. This time-consuming step makes your actual tying time much more enjoyable by taking away the mindless part of the task. Just grab a hook and start tying!
I also take the time to make sure that I have a pile of feathers that are ready to tie with, feathers with all the junk fibers and fluff stripped away. This way, you just pick up and strip off exactly the fibers you need, with no looking around for the perfect feather. I store the dubbing in a zip-lock bag with a bottom corner cut off so I can easily tease out the perfect amount of dubbing for each fly. I also precut wing-case material so it’s ready to go. Nowadays, I use a Thin Skin material, rather than turkey tail, both for its ease of use and for its effectiveness. A few strips of it will go a long way, and when you sneeze, your entire pile of wingcase feathers won’t go floating through the air.
I have a bunch of little trays and small containers that I use to hold a pile of stripped and prepared feathers and other loose materials. Flashabou, tinsel, and the like are usually on a peg near at hand or hanging next to the trash bag below my vise.
Speedy and efficient tying is all about preparation. If you prepare and organize your materials for each pattern and size that you tie, you’ll tie a lot more of them, and the flies themselves will improve, because practice always “makes perfect.” Organize, prepare, and tie a lot of the same pattern, and you’ll tie faster and better.
Blend Your Own Dubbing
In addition to ways to tie more flies faster, when I sit down to refill my boxes over the winter, I like to focus on ways to tie more effective flies. You can enhance the lifelike appearance of a pattern and add special color effects to your fly designs by making your own dubbing blends. It’s easy to do. All you need is a simple electric coffee grinder and a selection of dubbings. I highly recommend that you do not use the same coffee grinder you use for your morning beans. I like coffee that will “put hair on your chest,” as they say, but I don’t like the hair to be in the coffee.
It’s best to start out with a base of rabbit dubbing, because it is available in a huge variety of colors that can easily be highlighted and spectrumized with other materials. To the base color, I like to add synthetics such as Krystal Dub, Prism Flash, Buggy Nymph, and SLF dubbings. I constantly experiment with new dubbing blends, and most of them end up about being 70 percent natural rabbit and 30 percent synthetics. These blends dub very easily and give your flies a unique look. If you are trying to match an exact bug color, though, make sure to inspect the color of the dubbing when it is wet. Dry dubbing will usually darken a shade or two once it gets wet.
I start with my base blend of rabbit dubbing right out of the bag. It helps to cut the dubbing into approximately half-inch to quarter-inch lengths. Fibers longer than three-quarters of an inch will tangle up like a rope in your blender. Start out with a base color and add little clumps of highlighting colors, blending and checking frequently. Once you achieve the perfect color, store the dubbing in a zip-lock bag so you can use it as I suggested above — or just wrap it on a hook immediately.
Tie with Less Material
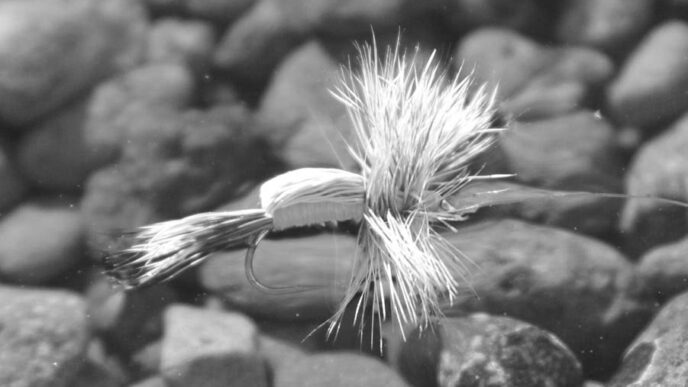
The most common mistake that most fly tyers make, myself included, is that we use way too much material on our flies. Remember that no aquatic insect has more than three tails, two antennae, and six legs. Yet when it comes to putting materials on a hook, we all seem to think more is better. The easiest way to break the overdressing habit is to dress a few flies slowly, focusing on the goal of tying them with half as much material as you normally use. Strip off your normal number of tailing fibers, then take half of them away before you tie them in. Do the same with all the materials that you use on the fly. When you’re done, you may be surprised to see that despite lacking half of the materials normally used to tie it, the fly will still look good. More importantly, it will catch fish. Training yourself to use less also will make fly tying materials last longer, and you’ll find that your flies catch just as many fish as before, and probably more.

Clean and Lube Your Vise, Tools
Have you disassembled, cleaned, and lubed your vise lately? If the answer is no, it’s time to give your favorite hook holder a little TLC. Take the thing apart according to the manufacturer’s instructions and clean out all the little bits of dubbing debris and other fly-tying stuff. I use an old toothbrush, and once I’ve brushed away all the junk and gunk, I give the vise a light lube and reassemble it. It takes only a few minutes to do and will ensure that your vise performs perfectly.
Check the tubes on your bobbins and make sure that they are clear of wax and gunk buildup. You can use a bobbin threader with a tiny bit of cotton soaked in alcohol in the loop to clean out the bobbin tube.
Hair stackers get charged with static from time to time, so it doesn’t hurt to blast them with soap and water and allow them to dry thoroughly. Once they’re dry, rub them down with an antistatic clothesdryer sheet. I also use the same dryer sheet to remove the static buildup from my dubbing blender.
While you’re at it, you might as well clean all the tips of your hackle pliers and scissors of gunk and other tying-related buildup.
Your freshly cleaned and lubed tying tools will work perfectly and make your trips to the bench more fun and productive.
Bring Old Feathers Back to Life
If, like me, you have accumulated a big stash of tying materials over the years, you may occasionally come across a cape or saddle that seems, for lack of a better description, dried out. Many natural materials slowly dry out as they age, and this is especially true of feathers that are still on the skin. When I come across one of these capes or saddles, I start by giving it a bath in warm water and shampoo, followed by a bath in warm water and hair conditioner. Once that’s done, I rinse the skin gently and pat it dry with an old T-shirt or other soft cloth rag.
Some skins will shrink and buckle as they dry after this treatment. You can prevent this by lightly attaching the skin to a board with tacks. Once these old bird skins have been cleaned and washed, you’ll find that their feather stems regain their suppleness and that the fibers are glossy and fresh looking.
If you regularly buy strung peacock herl, you’ve probably been disappointed in the appearance of the herl in many of the bags you have purchased. By simply waving the herl over a steaming kettle, you can fluff the life back into it. The steaming process makes the herl fibers stand out from the quill, they way they are supposed to do. I always store my fluffed herl in a large zip-lock bag so that it doesn’t get crushed again.
Focus on the Flies You’ll Need
A couple of years ago, I needed to tie a bunch of flies in a hurry for a trip and did something that I normally don’t do. I just started tying flies without first compiling a list of patterns I knew would be needed. I got into the habit of making fly lists in the late 1980s, when I first started traveling to fish. By doing a little research on the area where I was headed, I could come up with a pretty good idea of what would be needed. The Internet has made this research so easy to do that it would be foolish not to take advantage of it.
This time, though, because I didn’t research the destination and didn’t make a list of what I would need, I ended up tying flies every night of the trip, and not just a few flies either — two or three dozen, every night. Had I made a list and done the research that I usually do, I would have arrived with fly boxes loaded with the heavily weighted flies I needed for that particular trip, not the boxes of lightly dressed low-water flies I had tied.
But lists help focus your tying when you’re just refilling your fly boxes, too. I go through my fly boxes several times a year and draw up a list of flies that are missing or needed for upcoming hatches. I have a lot of fly designs and ideas buzzing around in my cranium most days, so my list seems to grow perpetually as I start to assemble it. The key thing about the list is that it allows me to keep track of the flies that I really need and to record ideas for new flies at the same time.
I always try to date the list so that I can throw it into a file folder. Every couple of years or so, I give the file a thorough review and usually make another list of my flies from the lists I’ve made in the past. It’s usually at this point that I realize that fly tying is not so much an art as an obsession with me. Oh well — I really like this part of the fly-tying madness! I hope that you’ll give a few of these tips a try. I know that they’ll make your time at the vise more productive and fun. I am looking forward to tying more flies this winter than I’ve tied in many years. I know I’ve got a lot of tying ahead of me. Heck, my list isn’t even halfway done yet!
The winter fly-tying season is upon us, and it offers the chance to focus on things that will lead to better angling experiences next year. Here are six tips that can make the hours spent tying flies more productive as you refill your depleted fly boxes:
- Tie in quantity.
- Blend your own dubbing.
- Tie with less material.
- Clean and lube your vise and materials.
- Bring old or dry feathers back to life.
- Focus on tying the flies you’ll need during the upcoming year.


")