I’ve been acquainted with Andy Guibord for a long time, but I came to know him better when I began working part-time in the fly-fishing retail business in 2002. Over the past few years, my friend, artist Mike Knepp, and I have managed to drag
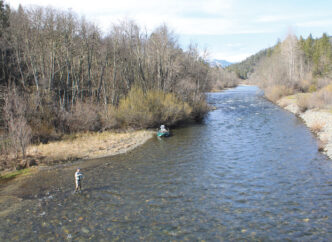
Andy into and out of many a deep canyon on long hikes. During these excursions, he snaps dozens (more like hundreds) of digital pictures of lovely bugs, wildflowers, and other flora and fauna, while Mike and I fish our brains out along the day’s destination waters. I’ve never been able to convince Andy to pack in a fly rod. Instead, he stubbornly hefts his waterproof daypack containing his large camera, extra lenses, batteries, storage media, tripod, and lord knows what else onto his shoulders, only to unload it all whenever he wants to snap an image or two.
And so it takes somewhat longer to reach the fishy waters far below — but such is the nature of the artistic persona, and because Mike and I are of the same ilk, we fully understand.
While Andy’s camera work is superb, with clear, crisp, creatively designed images, and his reputation for excellence in that medium is spreading rapidly, his creative expression and artistic talent are not limited to photography. Andy is a master designer of baitfish fly patterns that sprint, dart, and dive rapidly about in the water when retrieved, pushing a lot of water and moving seductively through the water column — a talent that you will enjoy as he takes you through the origins of and the interesting tying steps for of his Striper Caviar pattern.
Andy was born July 18, 1960, in Detroit, Michigan. He moved from there to Browns Valley, California, two months following his high school graduation. He lived in Browns Valley with his aunt and uncle, and beginning in 1979, attended Yuba College. After spending several years there, he moved on to California State University in Sacramento, where he graduated with a master’s degree in art. His interest in photography began while attending Yuba College, when he took a class in black-and-white photography. Once stirred, his creative instincts led him to product photography. His artful work has graced the covers of this magazine and Northwest Fly Fishing and appears regularly in this column. Andy has worked at Kiene’s Fly Shop in Sacramento for over 18 years. Here’s Andy describing the origins of the Striper Caviar and the materials and process for tying the pattern.
“Streamers — clever imitations of small fish for angling purposes — I love ’em! I always have, and I always will. Streamer fishing, in one form or another — whether as a kid flicking a jointed Rapala that wiggled through still waters surrounding the ’burbs of Detroit or later as a fly fisher casting a fly concocted of colorful plastic wig hair that pulsed through the tea-stained waters of the Amazon — has become embedded in my angling psyche. Nymphing with ‘bobbers’ may be more popular and possibly numerically more productive, but if I have to add weight to a fly rig in order to sink the fly to where the fish are in the water column, give me 28 feet of lead-core line hurtling through the sizzling summer air of the Sacramento Valley, instead of drowning BB shot.
“An eon or so ago, I was a brown-haired, whisker-challenged teenager seeking out walleyes, bass, and pike on weekends during high school. Now, with my scruffy face and balding head of hair white with age, I plumb the American, Feather, and Mokelumne Rivers for striped bass.
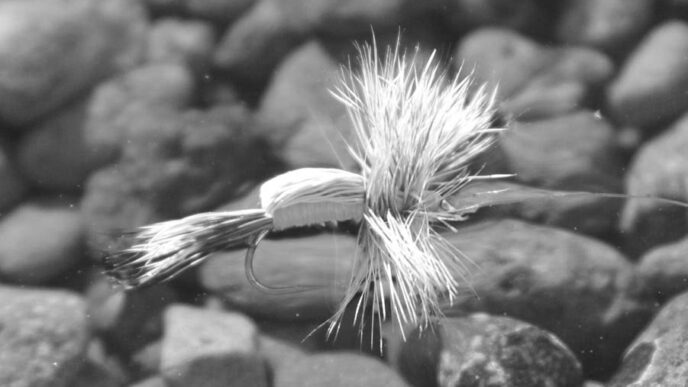
“My obsession with stripers began about 10 years ago, after I was stung by a hornet while fishing in Yosemite and nearly died from the allergic reaction. That incident made me extremely wary of venturing into the mountains to fish again and caused me to remain close to home — and to hospitals. That hornet having put the stinging fear of death in me, I turned to the lower American River for refuge. I had cut my fly-fishing teeth years earlier on that river, learning to cast and swing a fly for my beloved half-pounders — adolescent steelhead — which, despite my imperfect presentations, were willing to take a Brindle Bug. While sticking close to home, I discovered that the lower American River also sports stripers — including some very large specimens — and thus my quest for them was launched. I’ve never looked back.
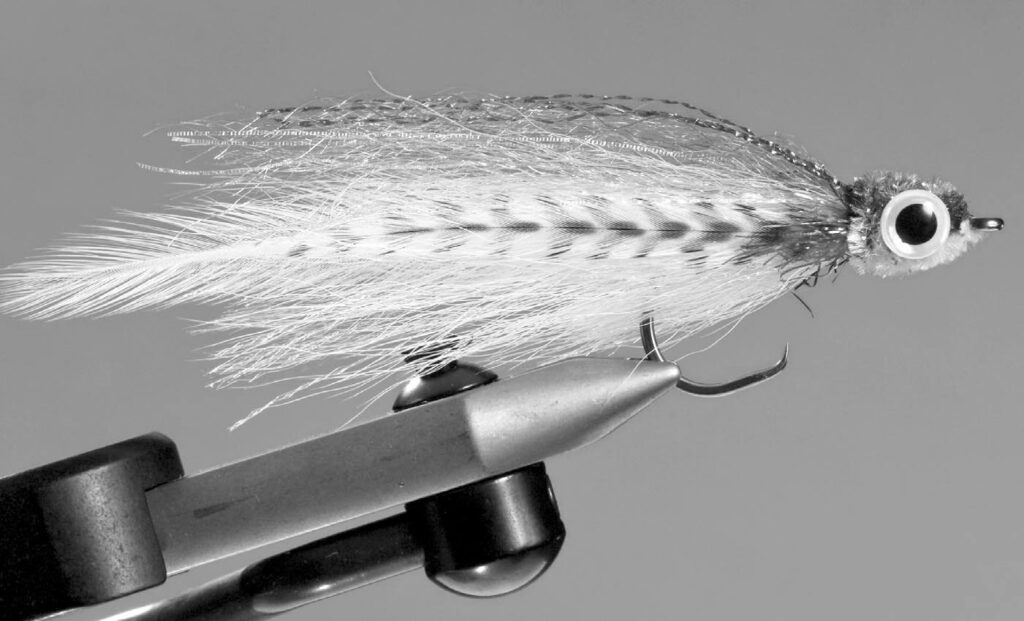
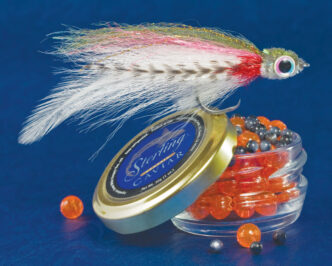
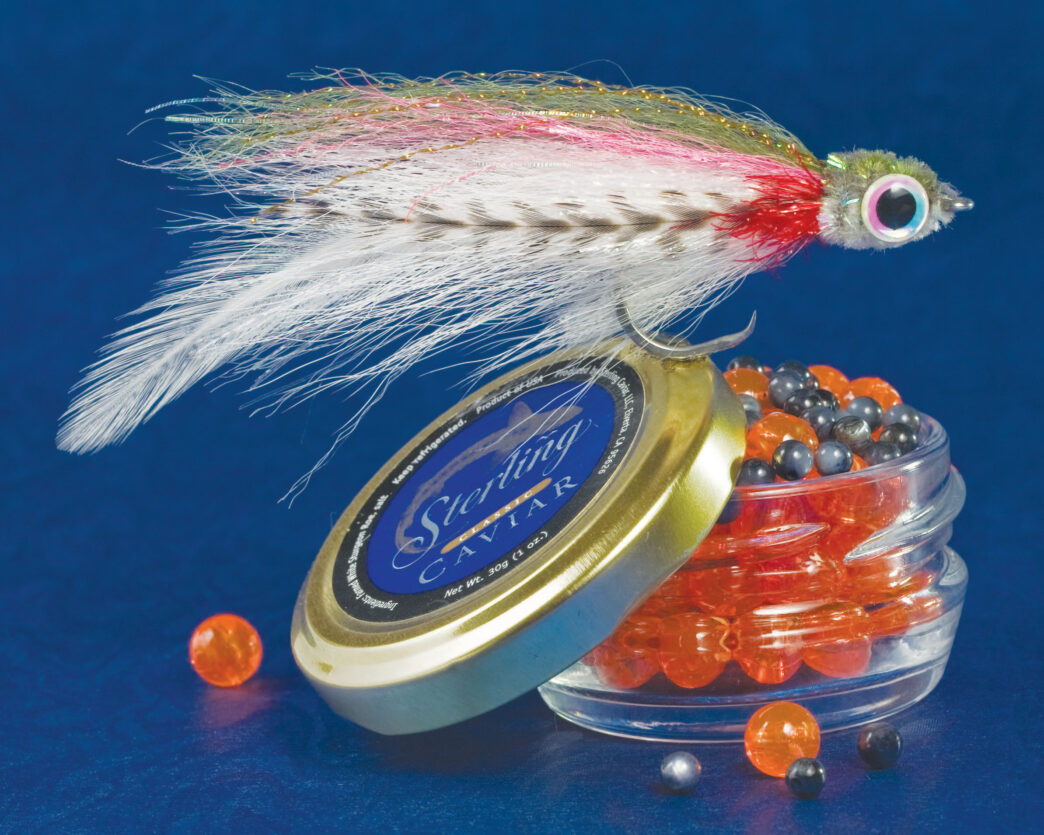
“My fly of choice for this type of fishing — sometimes called ‘stripping for stripers’ — is a streamer that I named the Striper Caviar. It is derived in part from Dan Blanton’s Sar-Mul-Mac. I first met Dan at Kiene’s Fly Shop, when he presented a fly-tying class there on striper flies, including the Sar-Mul-Mac. I was familiar with Dan’s flies from reading numerous books on streamer fishing, including one of my favorite books, Streamers and Bucktails: The Big-Fish Flies, by Joseph D. Bates, Jr. — an informative read that describes how the simple bucktail flies of the late 1800s morphed through the years into the well-known deer-hair and feathered patterns of today. Fly tyers — including me — tend to build on the work of our fly-tying forebears, whether famous or nameless. My Striper Caviar pattern is no exception. It’s based on the work of those ancestors, tempered to reflect my interpretation of what a baitfish imitation should look like. I have caught many stripers on this pattern. So head down to the lower American or your favorite striper venue, tie one on (a Striper Caviar, I mean), and give it a try. Who knows, you may give a big striper a sore lip.”
Materials
Hook: 2/0 Trey Combs or equivalent saltwater hook
Thread: White 3/0 Flymaster or similar thread
Weight/wire: .020-inch lead wire or lead-free substitute, eight wraps
Tail: Two white feathers from a cape or strung saddle hackle; translucent Mylar Motion or similar product; white bucktail
Belly and body sides: White bucktail; grizzly cape or saddle feathers (optional); UV Minnow Body Flash; red marabou for gills
Body topping: Pink bucktail or Slinky Flash; olive Slinky Flash; olive Krystal Flash or similar product
Head: Hareline speckled white chenille; olive and gray permanent marking pens
Eyes: Silver size 3.5 Spirit River molded eyes; Goop cement or equivalent
Tying Instructions
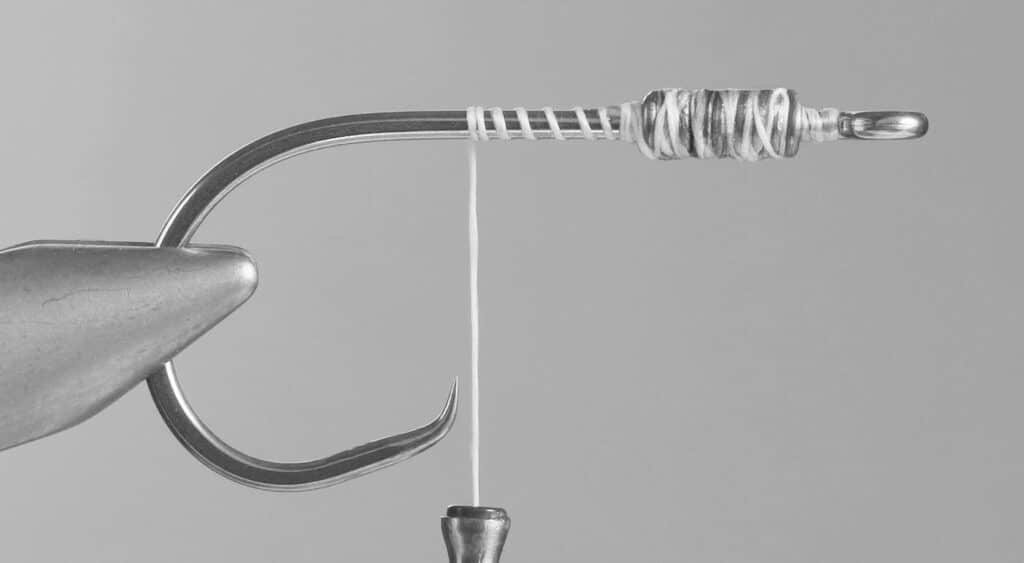
Step 1: Crush the hook barb and insert the hook into the vise. Tie on the 3/0 white thread behind the eye and wind the thread rearward, halfway to the hook bend, and leave it there. Starting one-eighth of an inch behind the hook eye, wind eight wraps of .020inch wire weight rearward. It’s important to leave space behind the eye for the last step of these instructions. Trim the wire and cover it thoroughly with thread. Coat the thread and wire with head cement and wind the thread back to above the point of the hook.
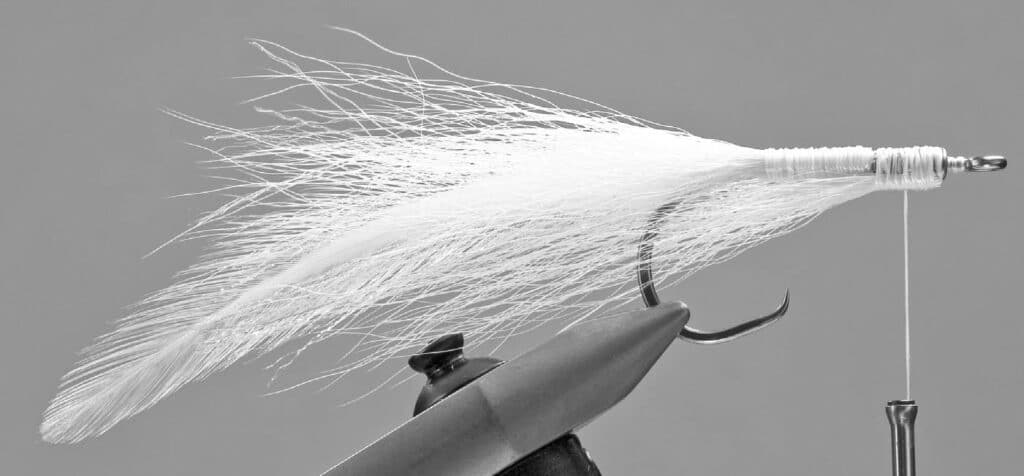
Step 2: The tail assembly requires three steps.
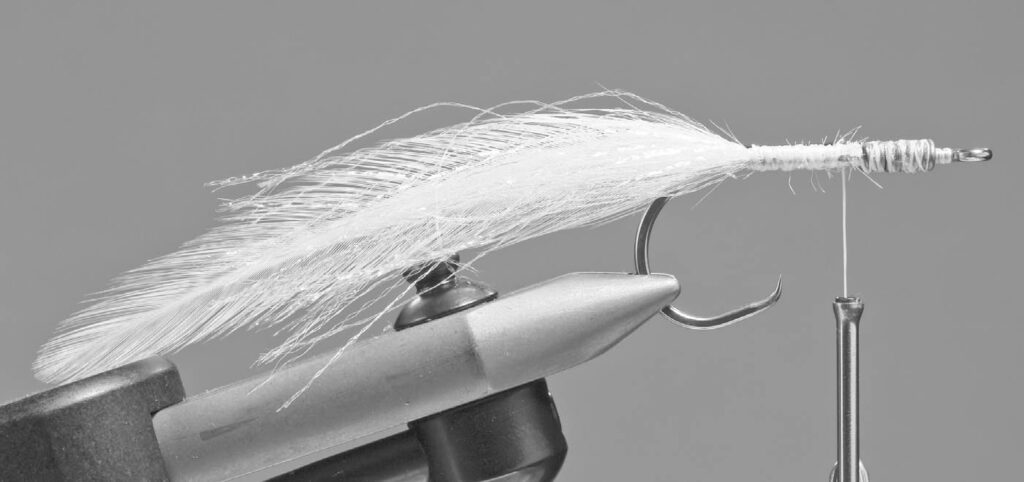
Step 2a: Tie in two white cape or saddle feathers on top of the shank above the hook point, with the concave sides facing together. The tie-in point is on the level shank section just before the bend. If you tie them in on the hook bend, the feathers will tend to point downward. Don’t let the stems roll off to the far side of the hook shank. To avoid rolling the stems, pinch the feathers together on top of the shank between your thumb and forefinger, take a soft turn of thread around the stems and hook shank and up between your finger and thumb, then tighten the thread by pulling straight up on your side of the fly. Don’t torque the thread around and down the far side of the shank, because that will force the stems to roll. Instead, keep your grip on the feathers and cover the stems with thread, then add a small drop of superglue to keep them in place.
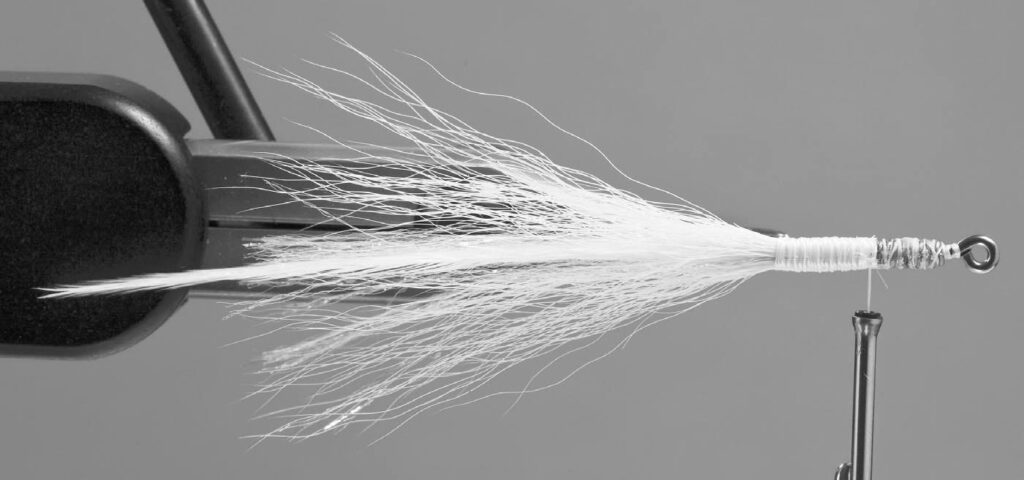
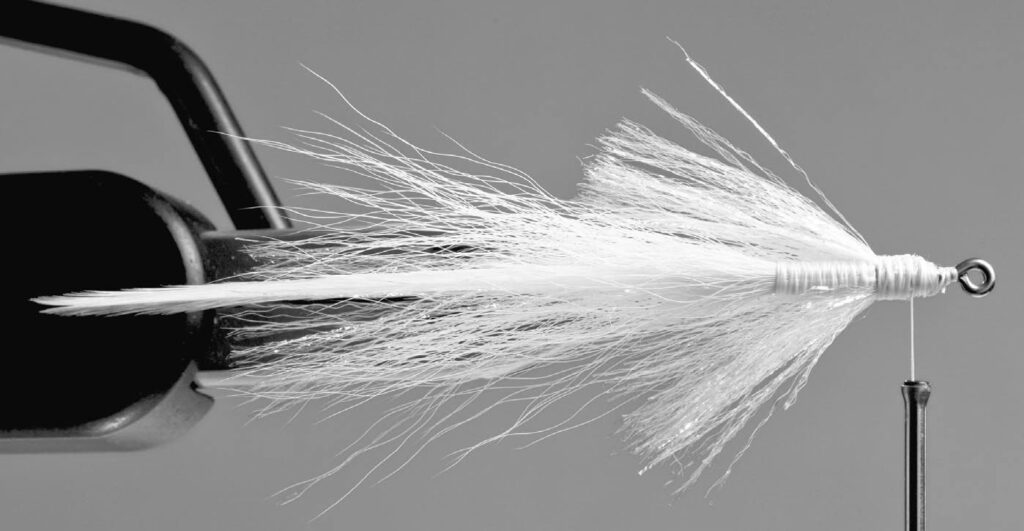
Step 2b: Advance the thread forward to a point just behind the wrapped weight wire. At that point, tie in two small clumps of translucent Mylar Motion, one clump on each side of the fly, pinning them down by winding the thread rearward to the feather tie-in point. The Mylar Motion should extend rearward no farther than three-quarters of the way to the end of the feather in order to allow the feather tips to wiggle freely, unencumbered by other materials. The wiggly swimming motion is created by a vortex that is generated the bulk at the front of the fly. The energy of the vortex travels rearward to the feather tips during the stripping motion and creates a seductive swimming action at the tip of the tail.
Step 2c: Advance the thread to the point where the flash was tied in. At that point, tie in two small clumps of white bucktail, one on each side of the fly. The tips should extend rearward to where the Mylar Motion ends. This sparse clump of hair will help prevent the feathers from fouling around the bend of the hook. When tying in the bucktail, take care to avoid excessive flaring of the hair. To avoid this, begin tying the hair butts down with light thread pressure, moving rearward to the feather tie-in point, then wrap forward with light-pressure thread turns, incrementally tightening the turns as you approach the finishing point behind the weight wire. Advance the thread to just behind the forward part of lead and place a drop of superglue on each side of the fly to cement the tied-in materials. This completes the tail portion of the fly.
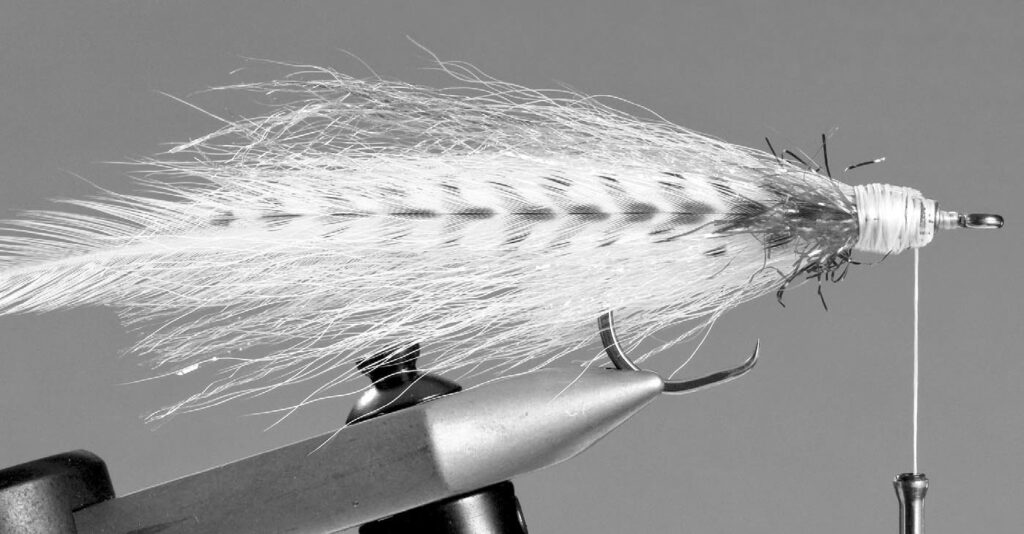
Step 3: Construction of the belly/body sides portion of the fly also requires several steps, which for simplicity will include the gills. Use a minimal number of thread wraps for each step to avoid excessive bulk in the head area, and add a drop of superglue at the end of each step.
Step 3a: Rotate the fly so that the hook point is on top. Cut a sparse clump of white bucktail and tie it in on the bottom of the hook shank, starting just behind the most forward turn of weight wire, and wrap the thread rearward to the end of the weight wire. The hair tips should extend to the rear to a point just short of the end of the Mylar Motion and hair portion of the tail.
Step 3b: Rotate the fly back to the normal position and advance the thread to the midpoint of the weight wire. Form the sides of the body by tying in small clumps of UV Minnow Body Flash on each side of the weight wire so that the material extends to the bend of the hook.
Step 3c: Advance the thread to a point just ahead of the weight wire. As an optional step, tie in a grizzly hackle on each side of the weight wire with the concave sides facing outward. The problem with this feature of the fly is that while fishing it, the grizzly feathers may fall off. They do add a nice barred look to the fly, so you may want to include them. They should extend rearward beyond the bend of the hook.
Step 3d: Tie in the red marabou gills, one on each side of the hook alongside the UV Minnow Body Flash portion of the body. The gills should cover approximately one-quarter of the UV Minnow Body Flash. This completes the belly and sides of the body.
Step 4: Construction of the body topping also involves several steps. Add a tiny drop of superglue after each step.
Step 4a: Tie in the pink bucktail or Slinky Flash on the top of the weight wire and wind the thread rearward to the end of the weight wire. The material should extend rearward to a point just short of the end of the UV Minnow Body Flash body sides.
Step 4b: Return the thread to the front of the weight wire. Here tie in three successive sparse layers of olive Slinky Flash on top of the fly. The first layer should extend to the end of the UV Minnow Body Flash, the second layer should extend rearward, but be slightly shorter than the first layer, and the third layer should extend rearward, but be slightly shorter than the second layer. Layering done in this manner will create the body taper of a young steelhead. To finish off the topping, tie in a small clump of olive Krystal Flash on top of the last layer of olive Slinky Flash. This material should end just short of the first layer of olive Slinky Flash.
Step 5: To form the head, strip away the first quarter of an inch from a piece of white speckled chenille and tie its core in at the space between the hook eye and the weight wire. Coat the weight wire area with superglue and wrap the chenille rearward to the end of the weight wire, then wrap it forward to the hook eye, tie it off, and cut the excess chenille. Whip finish behind the eye. Color the top of the head using olive and gray markers. Remove the fly from the vise jaws and lay it on the table. Place the head under the vise base or other heavy object and press down on it, flattening the sides of the head in preparation for the addition of the eyes. Place a dab of Goop cement on each side of the head and position the 3-D eyes. Set the fly aside to dry. Voilà! You now have a tasty piece of Striper Caviar.